Apple Motion is a wonderful software as standalone. It can be purchased separately from the App Store for only $50. But the real magic begins when Motion integrating with FCPX.
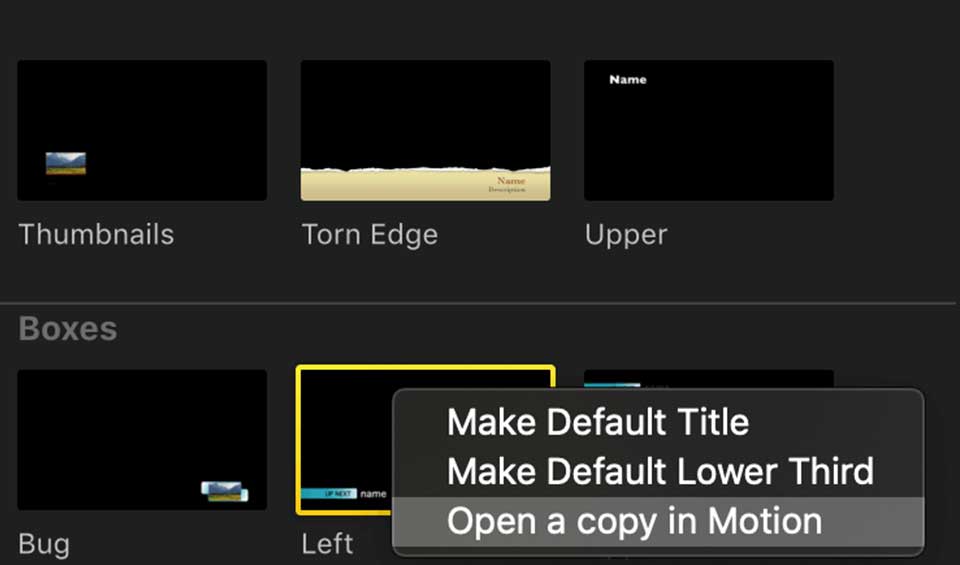
If you are editing in FCPX, then you have noticed the abundance of convenient and high-quality titles, transitions, effects, and generators already pre-installed in Final Cut upon purchase. Approximately 90% of these Final Cut effects are Apple Motion projects. You can always open them in Motion and edit them for your current task. Just click the context menu on the template in the Browser and select Open in Motion or Open a copy in Motion from the pop-up menu.
I want to tell you how to create your own custom animated title for FCPX from scratch in Apple Motion.
First of all, we need to select a different project type in the Project Browser. If in my previous articles I started working with Motion Project, now we need a Final Cut Title.
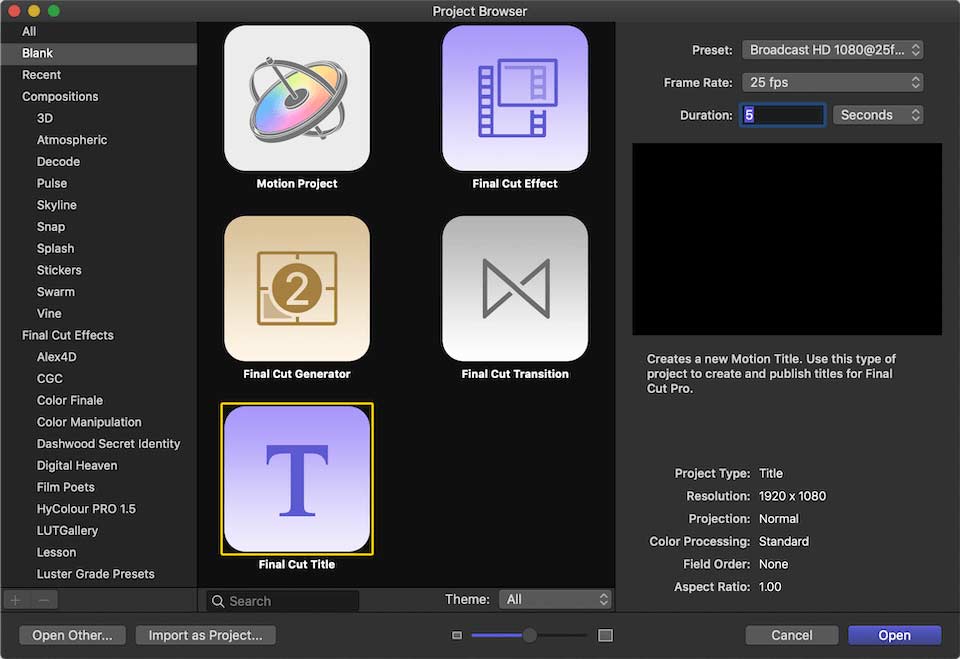
I will leave the size and frame rate to your discretion. I suggest paying attention to timing. I assume that the intro animation will last 2 seconds, for the outro animation a second will be enough, two seconds should be enough to read the title. Thus, we have a title with 5 seconds duration. If this time is not enough, we can always change the title duration directly in FCPX.
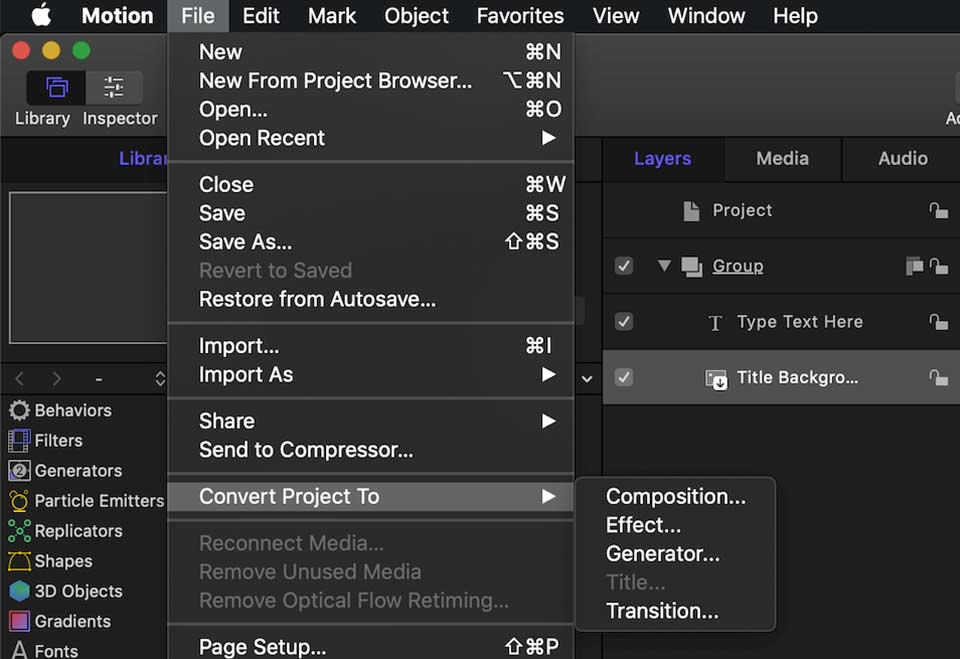
If it turns out that you are mistaken with the choice of the project type and you have Apple Motion version 5.4 or older, no big deal. You can always convert one type of project to another after creation, through the menu File/Convert Project To
The title project differs from the standard motion project in that by default, in addition to the group, it already has two layers: Text layer and Title Background.
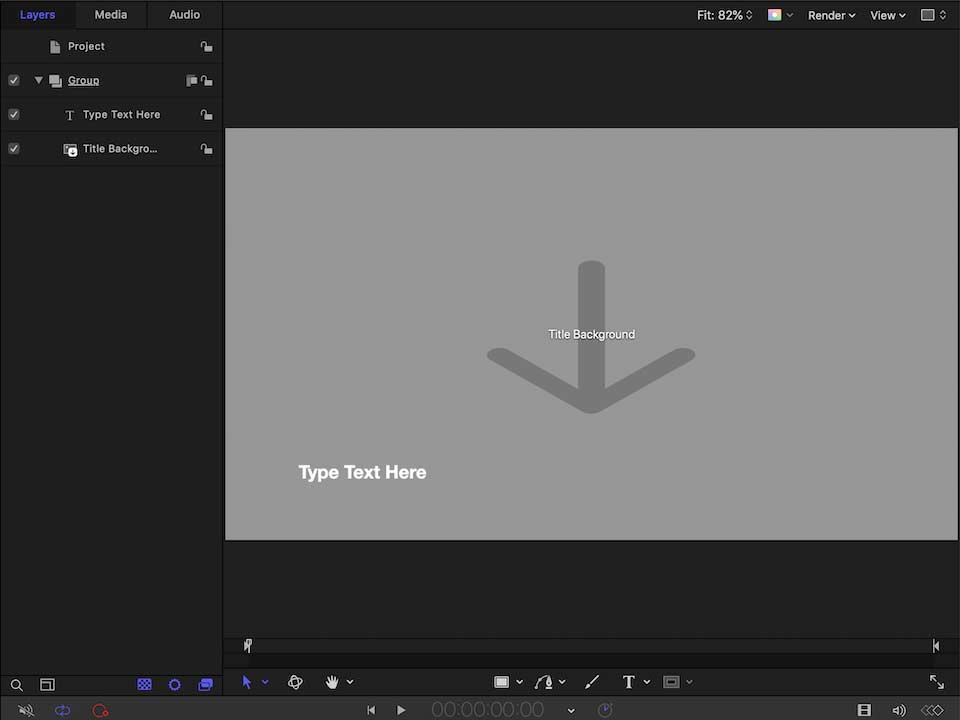
Title Background - a placeholder that represents the FCPX storyline under the title in Motion project. All changes and actions that we take to the Title Background will be applied by the video under the title in FCPX project. Moreover, if we delete the text layer and save the project with only Title Background, we will get an Adjustment Layer for FCPX.
In previous versions of Motion, it was not recommended to delete the Title Background, as it could not be restored. But since Motion 5.4 we can always restore Title Background from any Drop Zone.
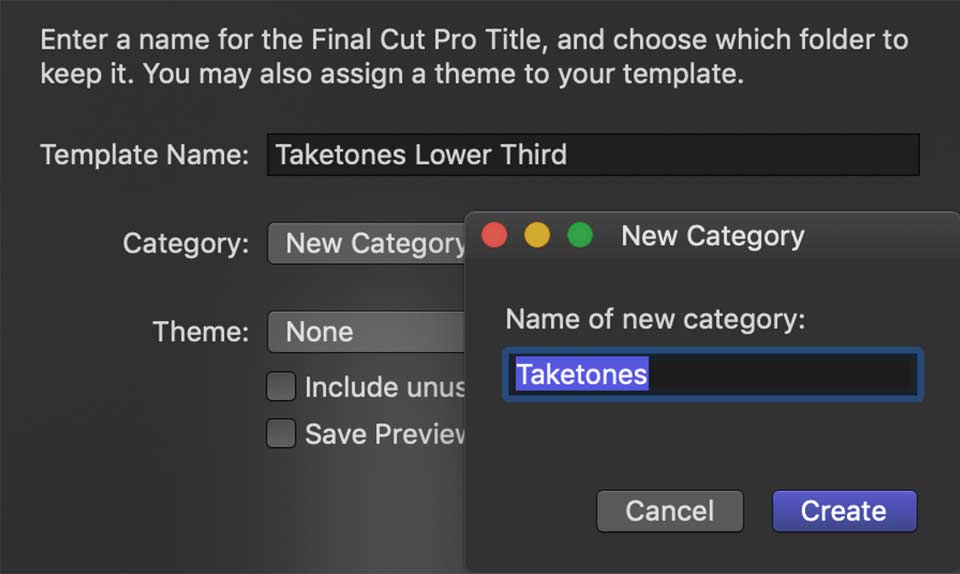
Let's save our template right away. We will see a new dialog window asking us to choose a name, category, and theme. If you don't have a corresponding category yet, you can create it by dialog window. We don't have to choose a theme in this case.
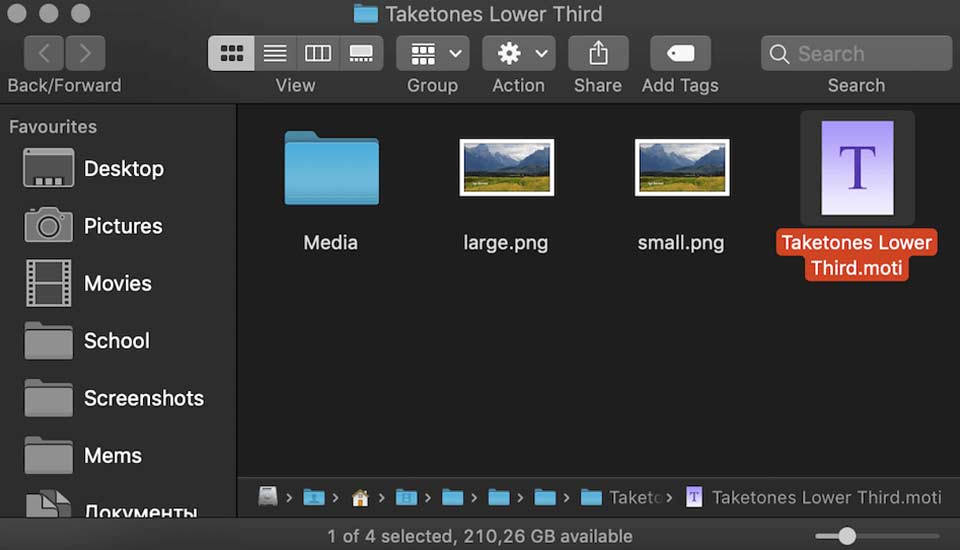
After you press Publish our title now appears in the FCPX Title Browser. It can also be found in the User/Movie/Motion Templates /Titles/Your Category folder
Note that the project extension is now *.moti and the thumbnail is now a T instead of a gyroscope.
I am a supporter of the "Less is more" approach, so our Final Cut Title will be minimalist and rational.
Therefore, Title Background will become an integral part of our design.
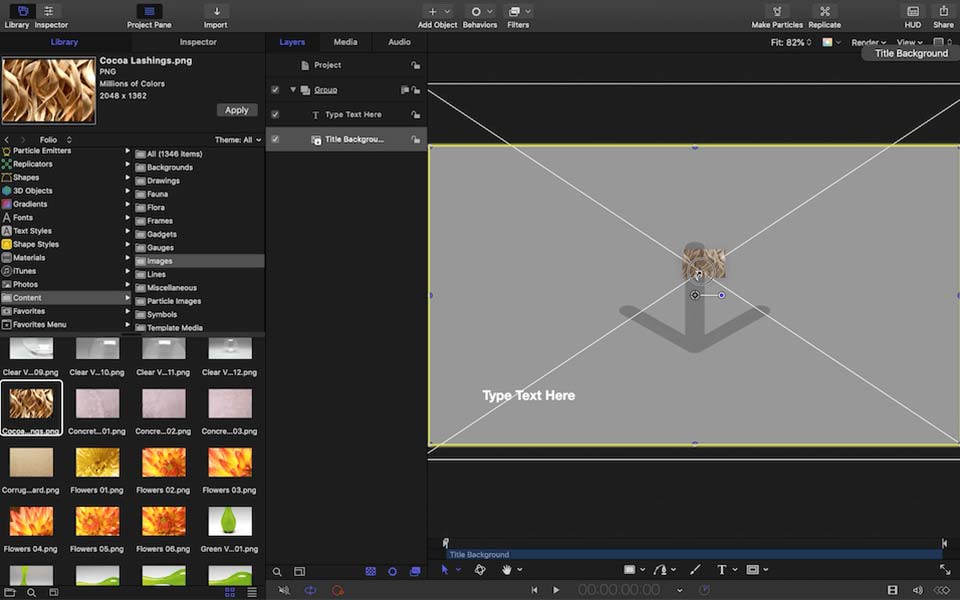
By default, the Title Background is a clean gray background, ideal conditions for any design that will never be the case. Let's make the environment more real, perhaps more challenging, to make sure our design works seamlessly against any background.
To do this, we will select the most pockmarked image from Library/Content/Images and place it as a background. I usually use Cocoa Lashings.png
Just drag and drop it from Library onto the Title Background.
A Text layer. Title Template may not contain text (as is the case with the Adjustment Layer), but not in our case.
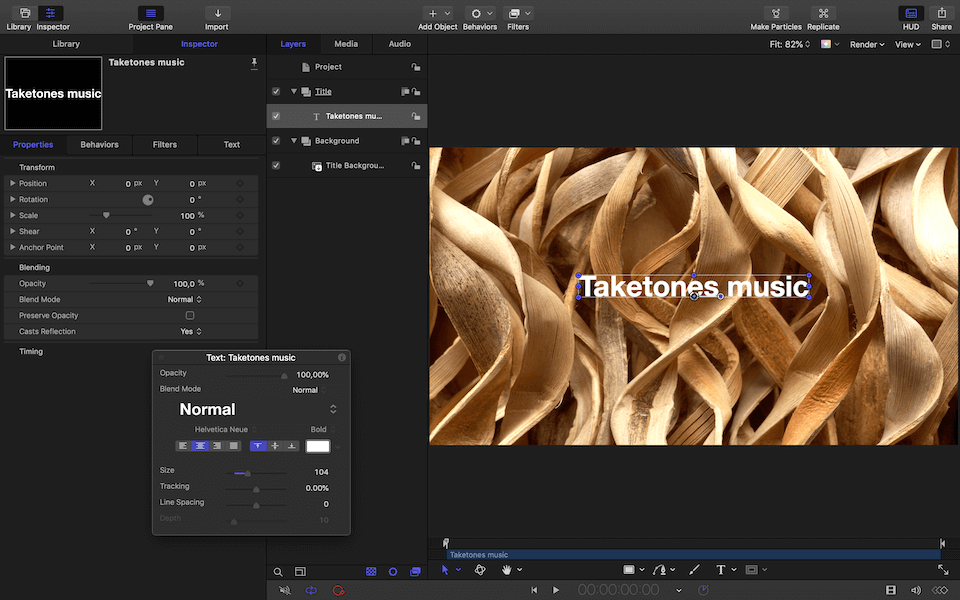
The default Layout Method of the text layer in the Final Cut Title project is Paragraph, which does not meet my needs. I can change the Layout Method, then reset the Anchor Point and Position, but sometimes surgical methods are more convenient. Let's just delete the Text layer. Create a new group for the Title and create a new Text layer, positioning it at the zero coordinate and assign Align text to the center.
Customize the text by choosing a font and size. You can learn more about customizing text from my previous articles in this blog.
The variety of devices and ways of watching videos requires our text to be as easy to read as possible on any device. Therefore, we need a background, thanks to which the text can be read on any surface, even such a pockmarked one.
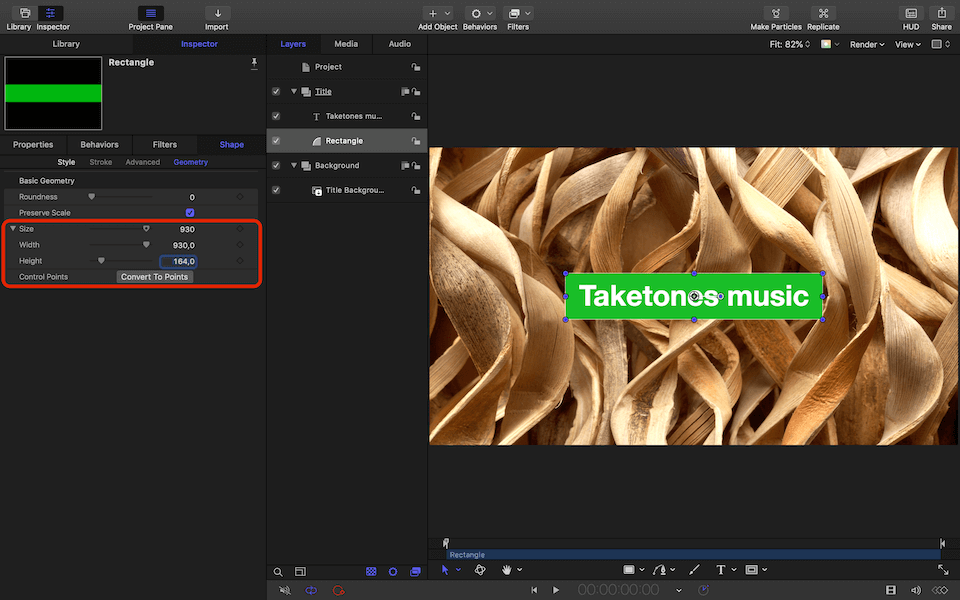
Create a shape using the Rectangle Tool. Let's assign a background color that contrasts with the text color.
Reposition the rectangle below the text in the Layers list. Place the rectangle at zero coordinates.
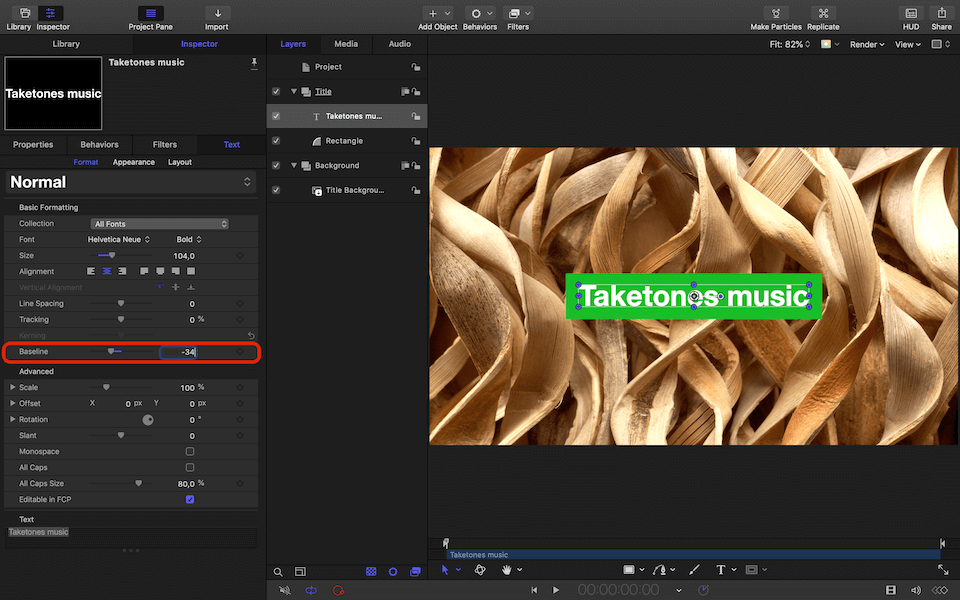
Note that even though the background rectangle and the text are in the same position, the text is not in the center of the rectangle. This is because the anchor point of the text is in the Baseline of the text, not in the center of the layer. By editing the Baseline value of the text, we can place it in the center of the background.
If necessary, adjust the size of the rectangle so that it looks proportional to the text image.
Now, by changing the position of the group that contains our text layer and the background rectangle, we will position our design as it should be for the lower third. For convenience, enable the Safe Zones.
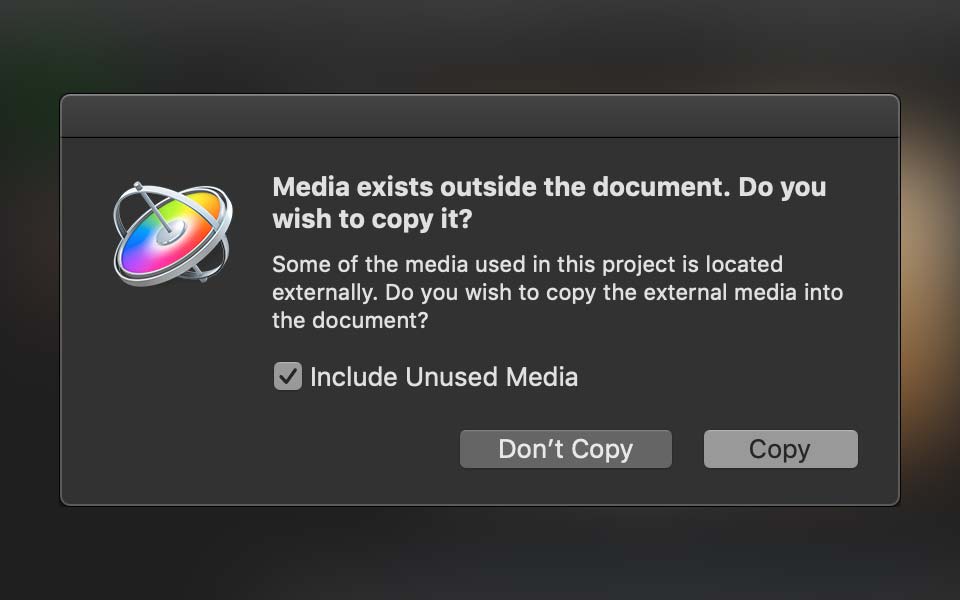
When saving a project, Motion will offer to save the png added to the project in the Media folder (in your case, it can be a different type of image or even a clip). If this annoys you, you can agree and in the end, by clearing the Title Background, delete this file from the Media folder, or simply deny constantly (Don’t save).
So far, our title is static, but with the help of Apple Motion behaviors, this is easy to fix.
Let's start the animation with a rectangular background. Let this be the driving force behind our animated title. Apply the parameter Overshoot behavior to Position Y. Let's trim the behavior to 2 seconds. Place the playhead on the first frame and set the initial value of the animation so that the rectangle is completely hidden down.
By changing the values of Ramp Duration and Cycles, set the nature of the movement corresponding to your task. I prefer the animation to be weighty and solid.
Apply an Image Mask to the text layer and set our shape background as the source of the Image Mask.
By default, the mask source is deactivated. Now our text appears in a somewhat strange way. This needs to be fixed.
The colored rectangular background is minimalistic and trendy. But I am very impressed with The Eye Candy Transparent interface of MacOs. Let's try to repeat it for our title.
First of all, Clone our Title Background, copy the Image Mask to the Clone Layer, and apply the Gaussian Blur filter.
We got it very similar to the Eye Candy style. The Gaussian Blur filter lightens the already light Title Background. It is no longer so pockmarked, but now less contrasting about the Text. Motion allows you to create Clones of Clones. Clone the Clone Layer of Title Background and apply a darkening blending mode to it. The darkened frosted glass panel now slides out and reveals the text.
We can animate text in a similar way to a rectangular background. For this, we need a behavior acting as an intermediary - Sequence Text.
Apply the behavior to the text layer, trim it the same way as the Overshoot - for 2 seconds.
In the Behavior Inspector add the Format/Position parameter
Link Position Y to the Y position of our rectangle using the parametric Link behavior. The Link also trims to 2 seconds duration.
Now the animation looks more varied but somewhat chaotic.
To keep everything in order, we will repeat the technique that you can study in detail in my previous article.
Set Sequencing to From Keyframes. Add one more parameter to the Sequence Text - Opacity and add three keyframes.
Let's increase the Spread value up to several tens.
Choosing a Speed options other than Constant, you can diversify the animation amplitude.
Set the Start Offset and End Offset to 5, you can achieve almost ideal animation for this title. Did I mention that Sequence Text is one of my favorite behaviors in Apple Motion?
The intro animation is complete.
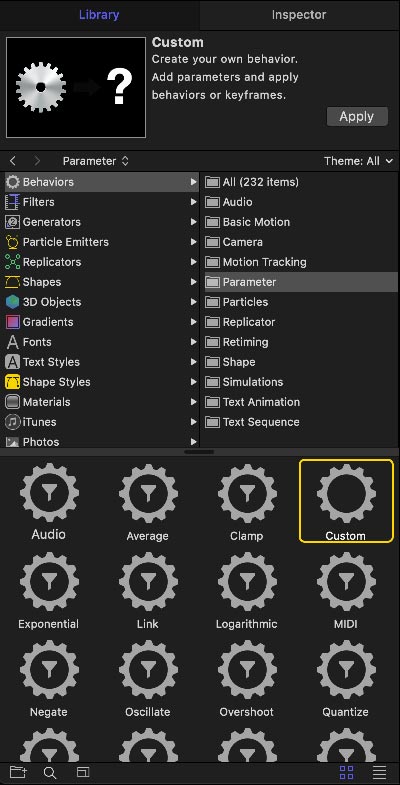
For the outro animation, I suggest using Custom parameter behavior.
This is one of two behaviors (the second is Track) that is not listed in the Animation Menu. It cannot be applied directly to any parameter in the Inspector. It can be applied to a layer first and only then adjusted by selecting options.
We will still animate our rectangular shape, the source of Image Mask for the Text, and Clone layers.
Let's trim the Custom behavior by one second. Add the parameter Properties/Transform/Position/Y
Add a keyframe on the first frame of behavior, moving the playhead to the last frame of behavior, set the Y value equal to the Start Value of the Overshoot behavior: -230
Open the Keyframe Editor to adjust the keyframe curve if the current animation doesn't suit you with its linearity.
I added a middle keyframe to reverse the motion before falling out. Apple Motion allows you to customize keyframes in real-time, which is very convenient and reduces the operating time.
In the next part, I will talk about Template markers, Rigging, and Publishing the necessary parameters of the Motion project for customization them directly in FCPX, without which our title will not become a full-fledged template.
You can download the result here. Put the unzipped folder on to the User/Movies/Motion Templates/Your Category folder and apply it in FCPX.