He's a complicated man...
Isaac Hayes
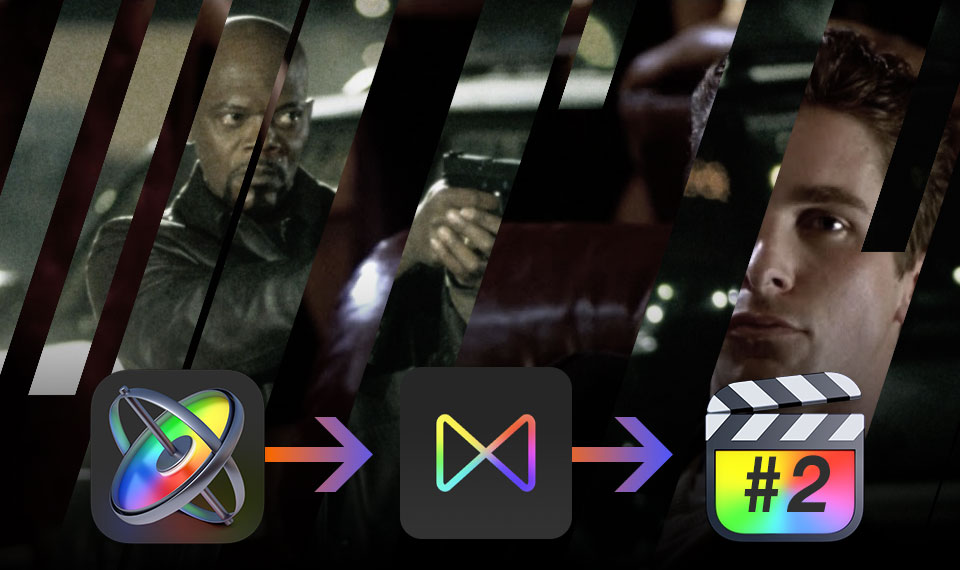
Last time we recreated from the reference one of several transitions from the brilliant John Singleton's movie — Shaft (2000)
I'm talking about these Shaft's transitions:
As you noticed (maybe you also watched the movie), there are more than a dozen such transitions in the movie, each transition completing a chapter. Transitions are similar in style but differ in design. Maybe someday I'll recreate them all for FCP. In this part, let's add at least one more design option to the already recreated transition. This is what the empty transition inspector panel in FCP calls for.
We need options, we need control.

Let there be an additional option, mirrored different from what is already there.
Now the diagonals are digging into the clip, dissolving it, from left to right and top to bottom.
Let's make an option where the diagonals will pierce the clip from right to left and bottom to top.
Let's add Rig to the project. For more details on Rigging in Motion, please see this article about the title template for FCP.
The Pop-up widget is the best way for choosing between options.
By default, the Pop-up widget contains three snapshots. But we only need two design options. Therefore, we will delete the third snapshot and rename the two remaining ones.
In the case of the title template, everything was quite simple - we add only two parameters to the checkbox widget and set values for them for snapshots. In particular, Transition & Pop-up case, will not be so easy.
Immediately, without preliminary experiments, I will not figure out which parameters should be added to the widget.
Rig Edit Mode will come to our rescue. This mode is somewhat similar to recording an animation. If you select the desired snapshot, launch Rig Edit Mode and perform the necessary actions so that the result meets your stated goals - each parameter that you change in this mode will automatically be added to the widget, with the already set parameter values.
Select the second snapshot from the Pop-up. Activate the Rig Edit Mode.
First of all, let's take a look at the Sequence Position behavior. Let's reverse the Y value by simply adding a minus.
Start playback project — animation goes from bottom to top, but still from left to right. To fix this — change the Replicator's Origin option. Now let it line up from the End Point — that is, from right to left.
Now it's better, but the diagonal doesn't allow us to enjoy the perfect result. Change the Shear by setting the opposite angle value. Let's also add a minus. Done.
Stop the Rig Edit Mode. All edited parameters immediately appeared in the Object tab of the Pop-up widget. Switch to the previous snapshot. Parameter values are returned to their original value before being edited. Perfect!
It is better to rename the Pop-up widget. Let it be Direction. It also needs to be published if we want to access it in FCP.
There are no boundaries for perfection. Let's add one more option to our transition. Now let it be not ordered, but an expression. Controlled chaos.
Set the Shuffle Order checkbox in the Replicator Object tab. Publish the checkbox itself and the Replicate Seed parameter that appears. Noe the checkbox can be deactivated. The Replicate Seed parameter will only disappear from the Replicator Object tab. In the Project Publishing tab, it is now until we specifically unpublish it.
Let's go back to FCP to check the result. As for the Transition, it's practically Shaft 2000. Now you need to shoot the film itself ;)
You can download this FCP transition here.
Next time I will tell you how to create an Effect Template for FCP and we will definitely use Rigging and Slider widget.