Today we’ll talk about chromakey or green screen. What is it? For what purpose is it used in video shooting? How to correctly adjust the lighting while shooting on a green screen? How to edit a captured video to remove the green background and replace it with another background? Read on to know more.
What is the green screen?
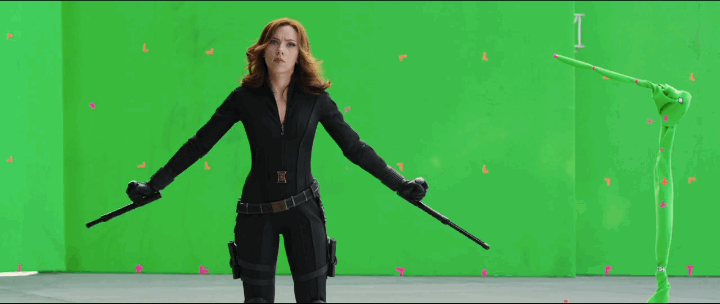
The green screen or chromakey is the screen against which the video is shot. This technology combines several images in one composition. Today, chromakey is widely used not only by film and television cameramen but also by ordinary video bloggers for shooting vlogs and videos.
With chromakey, you can remove the background and replace it with another background.
For the first time, the replacement of the background was applied in the film industry in the late 19th century. So creating a "double exposure" is not a new trick.
Initially, the background was blue. However, the green background is used more often than the blue one. Green screen is especially popular in film production, hence the name "green screen". But TV programs are often filmed on a blue background ("blue screen").
Digital video cameras are more sensitive to green color because of the built-in matrices based on the Bayer filter. The image taken on a green background is cleaner, has less noise and is easier to edit later.
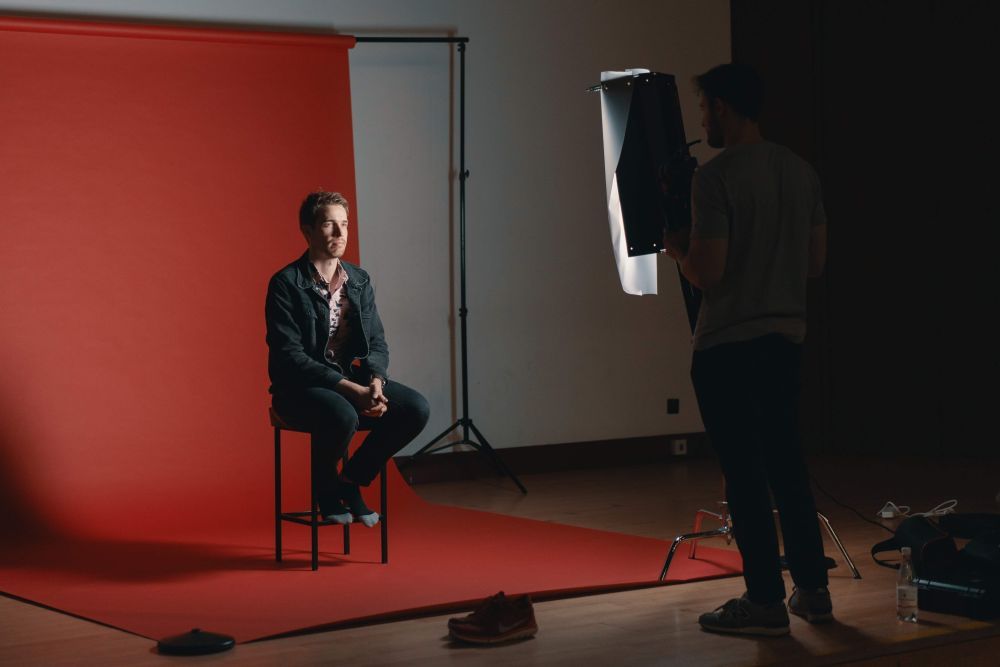
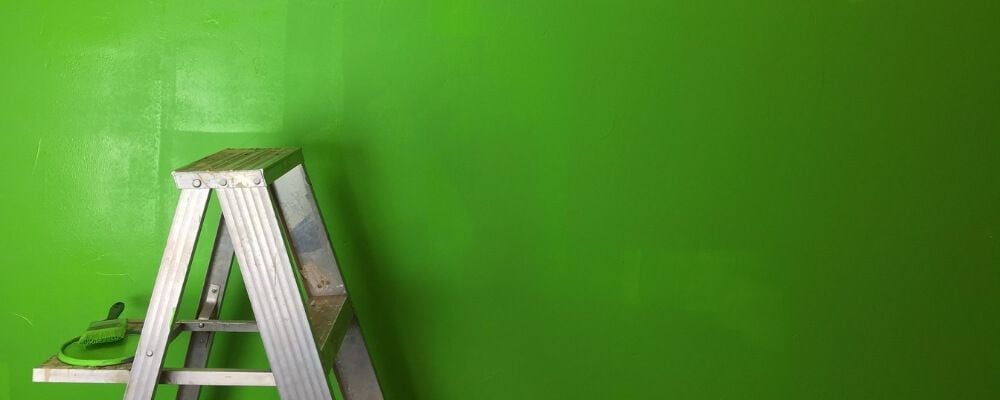
Photo by Ross Sneddon on Unsplash
In fact, the background color is related to the specific task statement of the Director, as well as the color of the objects and clothes in the frame. Computer equipment greatly facilitates the process of creating high-quality video and background replacement.
How does it work?
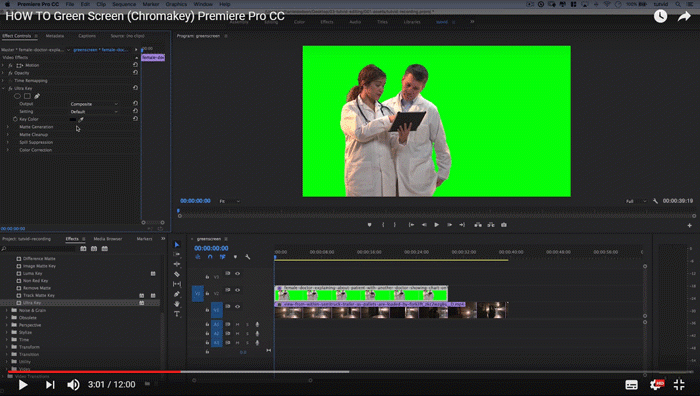
The object is shot on a single color background: green or blue. Then the original background in the editing process is replaced by another, the desired background. This process is called compositing. You can do it in Premiere Pro, Final Cut Pro, Sony Vegas, Adobe After Effects and other professional video editing software.
Each of the mentioned software tools has unique features that make green screen editing a breeze. Let's delve deeper into how you can use these tools for your green screen editing needs:
- Adobe Premiere Pro: Premiere Pro provides an 'Ultra Key' effect that makes it easy to key out green screen. Simply apply this effect to your footage, use the eyedropper tool to select the green screen, and Premiere Pro will automatically remove it.
- Final Cut Pro: Final Cut Pro also offers robust chroma key capabilities. Select your green screen clip in the timeline, go to the effects browser, and choose the 'Keying' effect from the 'Keying' category. Use the sample color picker to select the green in your footage, and Final Cut Pro will do the rest.
- Sony Vegas: Sony Vegas Pro has a 'Chroma Keyer' effect that you can use to remove green screen. Add the effect to your clip, select the eyedropper tool, and pick the color you want to remove from your footage.
- Adobe After Effects: After Effects provides a 'Keylight' effect for advanced green screen editing. Apply this effect to your footage, select the screen color with the eyedropper tool, and adjust the settings to achieve the desired result.
Remember, the key to successful green screen editing is careful fine-tuning. Don't be afraid to play around with the settings to achieve the best possible results.
Lighting
How to shoot on a green screen to make the image look natural and realistic? It’s necessary to properly set up the lighting towards the central object of shooting.
Photo by Alexander Dummer on Unsplash
This is a very important point to consider during the shooting process. If the object is too close or far away, or the lighting is chosen incorrectly, the result will look artificially and ugly. Therefore, before you start shooting on a green background, you should brush up on the main rules of lighting.
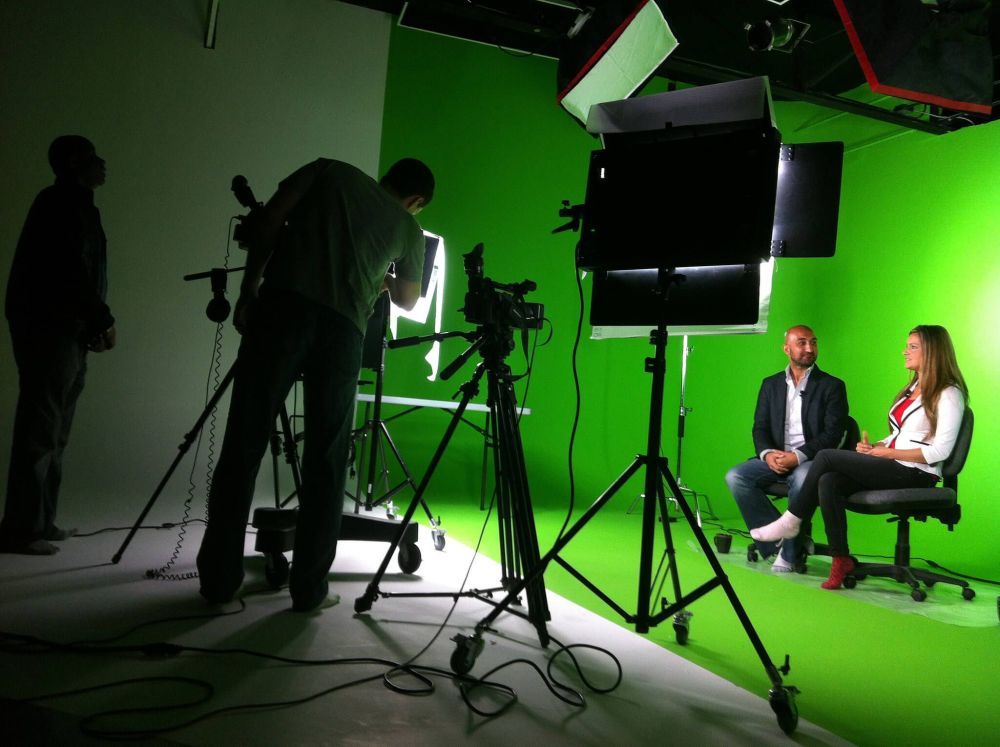
First, place the front light above the camera. This position will allow creating uniform illumination and will make further editing of the video simpler. Then put the light source at an angle to the object you are shooting. This will create sharp shadows.
Try to avoid shadows and highlights on the chromakey. Light the background evenly and constantly. Softlights create the softest light possible.
Use these simple tips when creating your video on a green background, and you can end up with a stunningly realistic footage.
Exposition
It is also important to correctly adjust the exposure. If the background is too dark or light – this is not the best solution for shooting. The dark image will result in noisy and dirty shots. The image quality will be low.
Light the background twice as bright as the center subject.
Shoot the video with the same lenses with the same focus distance and same aperture value, and the image will look more natural and realistic.
The color of the clothes
Clothing should not match or be in complete harmony with the overall background. Avoid matching the colors of the clothes and the background on which you shoot your object.
To make it easier to do keying, the boundaries between the central subject and the background should be clearly marked and separated.
Budget option: a DIY Green Screen
There are several options. The best is to use a special fabric on the substrate, which is not wrinkled and reflects the light well.
Another option is a paper background. It is good to use in the studio.
And the last is a non-woven background.
The background should be ideally bright and reflect the light well.
While the options mentioned earlier are excellent for a DIY green screen, you can also make your own green screen at home. Here's a simple step-by-step guide:
-
Choose the right material: Choose a material that's smooth and non-reflective. You can use a large, green fabric or even paint a wall green if you have a dedicated space.
-
Stretch and secure the material: Whether you're using a fabric or a poster board, make sure it's completely flat and secured tightly. Any wrinkles or folds can interfere with the keying process.
-
Lighting: Set up your lights so that the green screen is evenly illuminated. You should aim for a smooth, shadow-free surface.
-
Position your subject: Ensure your subject is far enough from the green screen to prevent shadows and green spill.
-
Shoot your footage: Once your setup is complete, you can start filming. Be sure to use a tripod to keep your camera stable.
Remember, a DIY green screen might not give you the same quality as professional green screens. However, with careful setup and lighting, it can work quite well for amateur filmmaking and video blogging.
Shooting and editing steps
● Select the area to shoot and arrange the lighting.
● Position the three lights far enough away from the screen and the subject at a 45-degree angle.
● First, shoot a video without an object.
● Then start shooting the subject in the background.
● Then connect the camcorder to your computer using a special FireWire adapter.
● Switch the camcorder to VCR mode.
● Open the software.
● Locate the video footage taken at the beginning without the subject. Only the background.
● Select auto key option.
● Then select another, desired background.
● Select codec and video format.
● Form a video using the program.
● Click "Save".
● Open your video in an editor like Adobe Premiere Pro.
● Add sounds and special effects.
Green screen technology isn't just for filmmakers and TV producers. Here are some other use cases where you might find green screens useful:
-
Video Games and VR: Green screen can be used to capture real actors and then transpose them into a virtual environment. This is especially common in motion capture studios for video games and virtual reality experiences.
-
Weather Reports: Have you ever wondered how meteorologists appear to be standing in front of a weather map? That's done using a green screen. The meteorologist stands in front of a green screen, and the weather map is superimposed afterwards.
-
YouTube and Streaming: Many YouTubers and live streamers use green screens to replace their background with game footage or other engaging visuals. This allows them to createmore immersive content for their audience.
-
Educational Videos: Teachers and educators often use green screens to create instructional videos. They can appear to be 'inside' the lesson, making the content more engaging and interactive for students.
-
Marketing and Advertising: Businesses use green screen technology to create compelling ads. They can put their product in any location or situation without leaving the studio, saving time and resources.
Green screen technology is incredibly versatile, and these are just a few examples of how it can be used. With a little creativity, the possibilities are endless.
You can be in the role of the real Creator. The process is very exciting. Shooting on a green background gives many opportunities for your creativity.