The most awaited holiday of the year is coming and we all have a lot of excitement for the Christmas celebration. This tutorial is to help you create some Christmas wishes in After Effects so that you can surprise your family and friends, or even your subscribers.
Even if you are just getting started with After Effects, you can make beautiful wishes animation.
Look what we’re going to have in the end.
To create such a Christmas video in After Effects, you need to follow a few steps.
1. Choose the characters

• The very first thing you need to do is to create background and characters.
You may create a background in After Effects - for example, choose a solid color or add a gradient, or prepare a background picture beforehand.
• Then you decide what characters you want in your greetings, like Santa Claus, Christmas tree, Snowman, firecrackers, Christmas ornaments, etc.
You can create the characters in Adobe Illustrator or just download vector images from the internet.
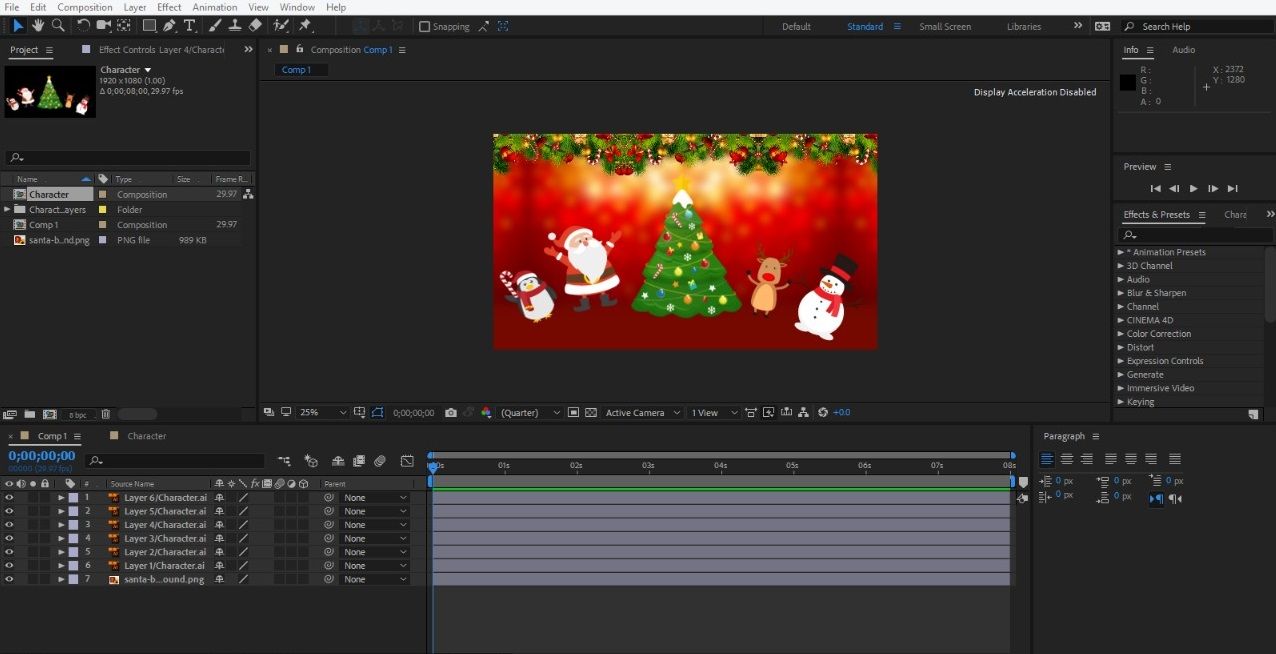
• When the characters are ready, import Adobe Illustrator file or the downloaded graphics into After Effects.
• In Illustrator I also created another Christmas background with a Title.
You may get the images on the internet or create it in Photoshop or Canva, or with another graphic-design tool.
• Import both files to After Effects.
Now it’s time to animate your work.
2. Animate the characters

Now when both of our image files are ready, let’s animate the characters.
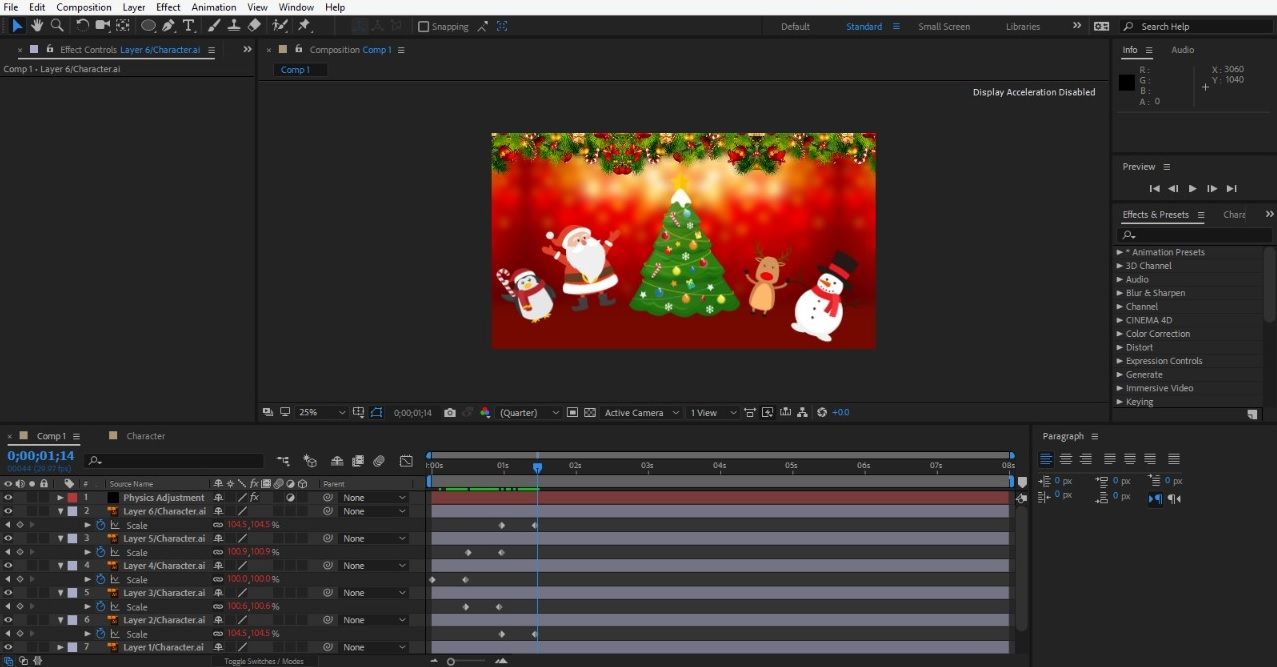
Characters will be placed on the first layer.
• So we set the position of keyframe and timing of the first layer with the Scale tool to make the characters appear one by one or any way you’d like. Just set different positions of animation frames.
• Next thing is to create a base for characters by adding a Shape Layer.
3. Animate the title

The next thing is to animate the title of our video.
• For animating our title or text we need to import the title file that we have prepared as a second background screen into After Effects.
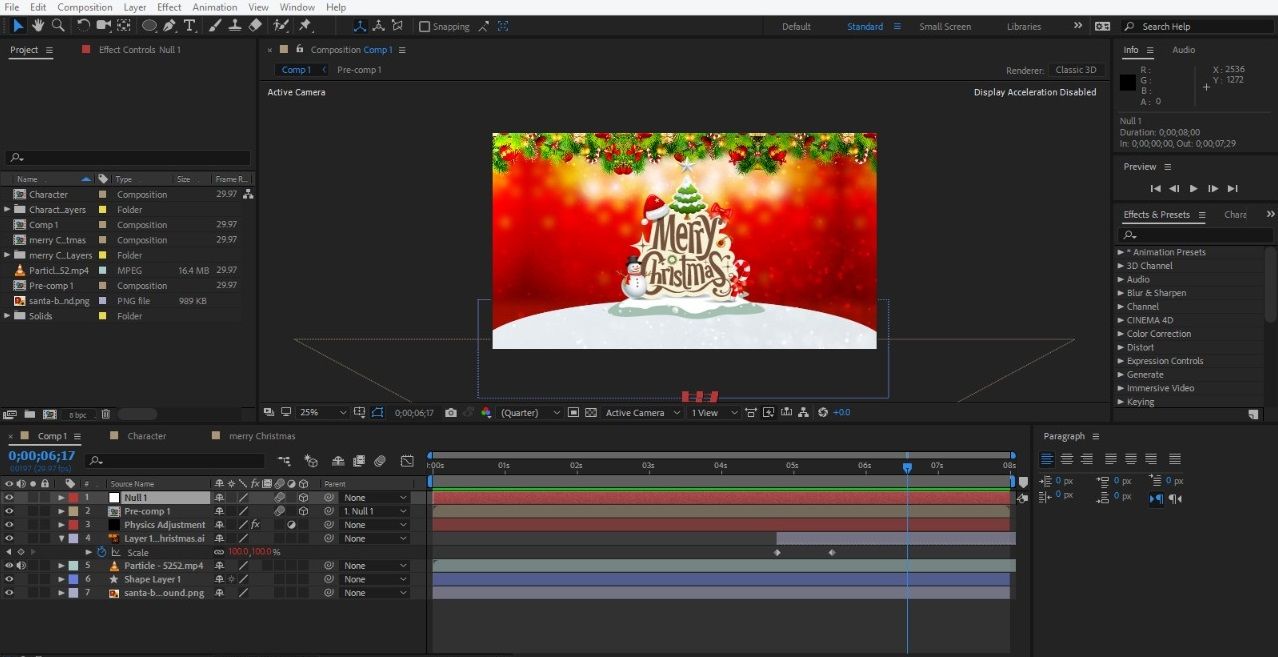
The title will be placed on the second layer. We follow the same steps again as with the first layer.
• So we set the position of the keyframe and timing of the second layer with the Scale tool.
And when we play, the second layer will show after the first one. It looks like the character screen is going and the screen with the title is coming.
To make your video more creative, add a background footage of sparkles. Finally, choose a bright and festive background Christmas music to make the video complete. In our example, we used this Christmas track. You may search for your perfect holiday sound here.
That's it! With these easy steps, you can create amazing wishing or invitation video for the celebration.


