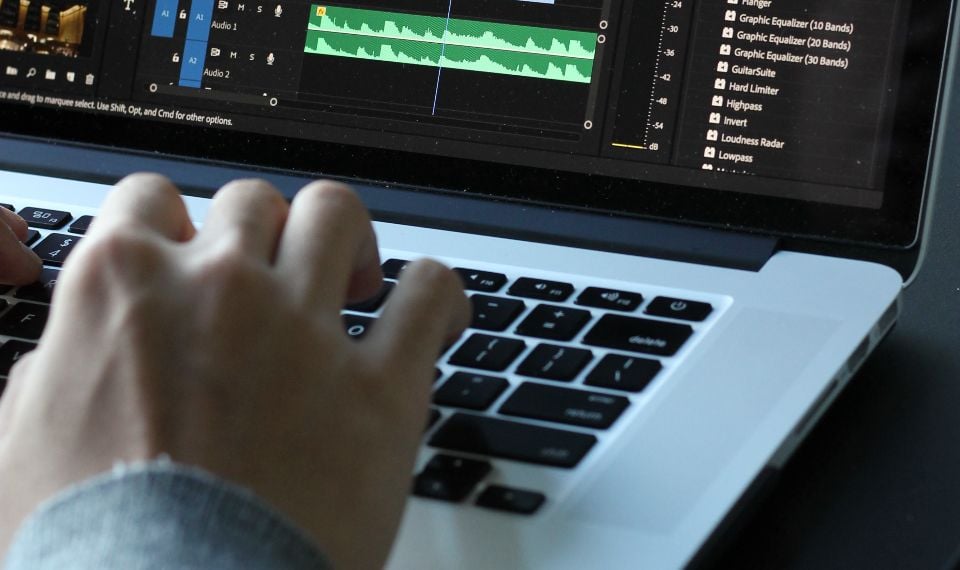
We are going to show you the most useful hotkeys in Premiere Pro. We highly recommend using a keyboard instead of a mouse as frequently as you can.
At first you will find it a bit inconvenient, but after a few days of working that way you’ll understand all the benefits of a keyboard and will realize that the mouse just slows you down. Hotkeys will make your editing super fast and efficient.
Shortcuts listed here will save you hundreds of hours.
Ctrl+S to save your project. Use Ctrl+S every minute! Premiere is still unstable software. (Mac users, Ctrl means Cmd for you.)
The next three: Most useful hotkeys for editors: J, K, and L. All three work both in the Source monitor and on a Timeline.
Use L to play your video. Hit L again to play it two times faster, and again to play it four times faster, 8 times faster, 16 times faster, and so on.
J works exactly the same but in the opposite direction.
K stops your material. If you hold K+L, your video will play at half speed. Holding K+J will play it at half speed backward. If you press and hold K and hit L, you will move one frame forward. Hold K and hit J to move one frame backward.
The left and right arrows (←→) do the same thing: move the playhead one frame forward or backward. Hold Shift+Left/Right Arrow to jump five frames.
Hit the Up and Down arrows to skip between clips on your timeline.
Use the I and O keys to spot In and Out points on your Source monitor. And use the Comma and Period keys to put this highlighted section on your Timeline. Use Comma to insert and Period to Overwrite. Use I and O on a timeline to show which part of it you want to render.
Ctrl+C and Ctrl+V work for both clips and effects. You can copy your clip and paste it wherever you want on a timeline.
Use + and - to increase or decrease the size of your Timeline. The Backslash (\) lets you see all your clips on the Timeline.
A is a very useful hotkey! It selects all clips from the right. Shift+A selects everything from the left.
V activates the Selection tool.
C activates the Razor tool. Use Shift to cut through the entire timeline. It’s easier to cut clips using Ctrl+K, as in this case you don’t need to activate the Razor tool every time.
Use B to activate the Ripple delete tool.
Q and W are very helpful. They cut a clip up until the next clip. Q cuts the beginning, and W cuts the end of the clip.
Hit Y if you need the Slip tool.
N activates the Rolling edit tool. This one is very cool. It moves the Out point of the left clip and the In point of the right clip simultaneously. Sometimes it’s very useful.
R activates the rate stretch tool, which changes the speed of the stretched clip.
The ~ (Tilde) key maximizes any panel you choose with your cursor. Use Ctrl+~ if you want to see a completely fullscreen view of your material.
Use Ctrl+M for rendering.
Ctrl+T creates a new title.
Ctrl+Alt+K activates the Keyboard Shortcuts menu, where you can find all the shortcuts and even customize them. If you forget any shortcuts, how to adjust Audio Gain for example, just type “gain” in the searching field or whatever else you’re looking for. By the way, the Audio Gain hotkey is G.