
Markers are used to create timestamps in the composition and on the layer, as well as to store comments and other XMP metadata, and they also make it easy to align layers or the playback cursor to specific timeline points.
There are two types of markers in Adobe After Effects:
-
● Composition Markers are on the composition timeline, and are used to create marks for all layers;
-
● Layer Markers are on each layer separately and are used to create marks for the current layer.
Both types of markers can contain the same information. When a composition marker is set, the marker number is entered in the comment; when a layer marker is set, the comment contains nothing.
The After Effects composition markers are the same as the episode markers in Adobe Premiere. The layer markers in After Effects are the same as the clip markers in Adobe Premiere.
When rendering a composition, markers can be converted to web links, section links, and timestamps, depending on the output format and the value set in the marker dialog box. Markers can be exported in XMP metadata format.
Markers (both composition and layer) can be divided into two kinds:
-
● Dot points to a specific point on the Timeline;
-
● Interval - indicating a time interval.
Interval markers have an entry point (the beginning of the interval) and an exit point (the end of the interval). Dragging the marker entry point changes the position of the marker on the Timeline, and dragging the marker exit point changes the duration of the marker.
To align layers or the playback cursor to specific timeline points, when you move the keyframe, playback cursor, or layer duration slider, hold down the SHIFT key to make it easier to link items to markers.
There is a small dot on the marker icon that contains a link or mounting marker.
Creating markers.
You can add markers either during editing or during audio preview or preview playback.
-
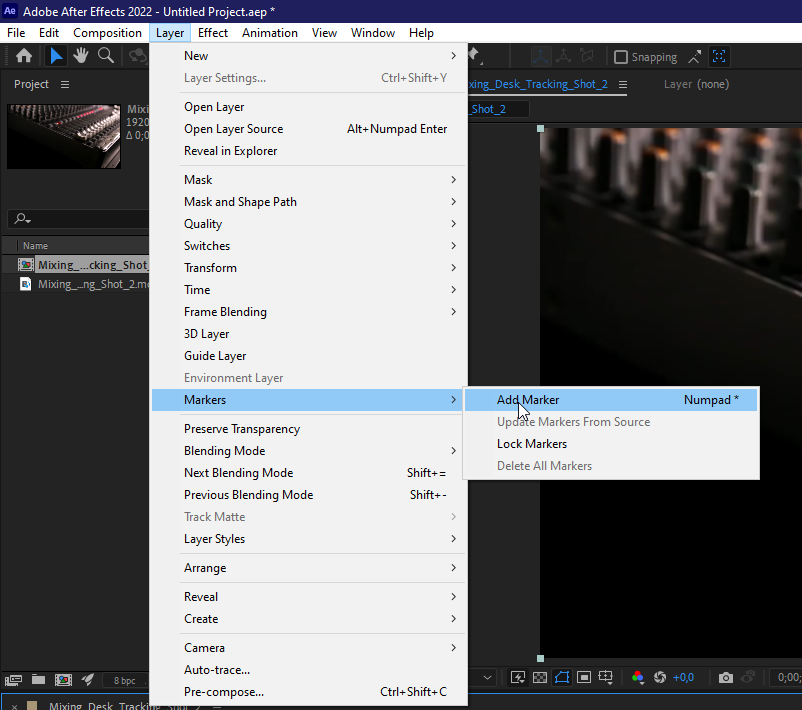
● To add a composition marker, deselect all layers and choose "Layer/Add marker" (* on the numeric keypad).
-
● To add a layer marker, select the layer and choose the "Layer/Add marker" menu (* on the numeric keypad).
-
● To add a marker for multiple layers at once, you need to select those layers layer by layer and choose the "Layer/Add marker" menu (* on the numeric keypad).
-
● To remove a marker, drag the marker outside the composition or press the ctrl key and click it with the mouse.
-
● To delete all markers, hover the mouse pointer over a marker, right-click it, and then choose "Delete All Markers".
-
● To replace all markers on a layer with markers containing temporary metadata from the source files, hover over the layer marker, right-click it, and then choose "Update Markers From Source".
Fast marker control keys:
-
● * on the numeric keypad - set the marker at the Play Cursor position (valid during audio preview and preview playback).
-
● ALT+*- set the marker to the Play Cursor position and open the Marker dialog box.
-
● SHIFT+0-9 (on the main keyboard)-set the song marker at the Play Cursor position and assign a number to the marker (0 - 9) in the current timeline. If the specified number is already occupied by another song marker After Effects does not create a new marker. Instead, it will move the existing marker with that number to the new position.
-
0-9 (on the main keyboard)-go to the song marker with the number 0-9.
-
Clicking a marker while pressing the ALT key displays the time interval between the markers of the two layers or the keyframes in the "Info" panel.
-
Click the marker with the CTRL key pressed - delete the marker.
-
To lock all markers, right-click the marker and then choose "Lock Markers".
Marker Properties.
-
● The composition can contain any number of markers.
-
● Only one composition marker can be created at a time.
-
● You can create markers for all selected layers at one time.
-
● When you add or move a marker in place of another composition marker, it will replace the existing marker.
-
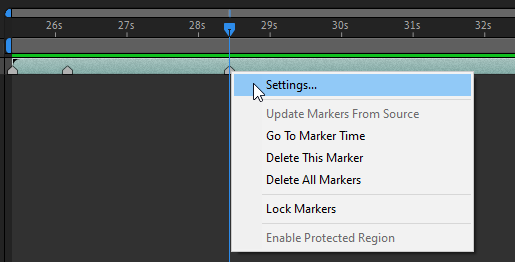
● To view or change a marker, hover the mouse pointer over the marker and double-click it. You can call the Popup menu and select the "Setting..." command.
-
● To move the marker to a point, drag the marker to the desired location with the mouse or double-click the marker and enter the time in the marker properties panel.
-
● To set the duration of the interval markers of a composition or layer, drag the marker output point to the Timeline or double-click the marker and enter the duration in the marker properties panel.
-
● If you enter a non-zero value into the Duration property in the marker properties panel, the point marker becomes an interval marker.
-
● To automatically create layer markers based on the temporary metadata of the source file, enable the "Create Layer Markers from Footage XMP Metadata" option in the "Media & Disk Cache" tab settings. (This option is enabled by default.)
-
● To synchronize the layer markers on a pre-composition layer with the corresponding markers in the source composition, right-click the layer marker and then choose "Update Markers from Source". Note: This command will remove any markers added to the layer.
Note. If the layer uses a file rather than a composition as a source, this command will restore the layer markers so that they match the timing metadata of the XMP source file.
-
● When you add one song to another, the first song becomes a nested layer of the second. All markers from the nested composition will become layer markers on the Timeline of the container composition. These markers will not be associated with the original composition markers. Changing the markers in the original composition will not affect the nested composition's layer markers. For example, if you remove one of the original composition markers, the corresponding nested composition layer marker will remain in its place.
-
● Scripts and expressions can read the data contained in tokens. Since the XMP metadata of the original video elements can be converted into layer tokens, expressions and scripts can work with XMP metadata.
-
● If you delete a numbered song marker, the numbers of the other markers remain the same. If you enter a comment instead of the default number, that number can be used for a song marker created later.

Assigning color labels to markers.

You can assign color labels to markers. By default, markers have no color. To change a marker's color label:
-
1. Double-click on the marker to open the marker settings panel.
-
2. Select the color of the label in the "Label" property.
To customize the color labels, select the Preferences/Label menu item.