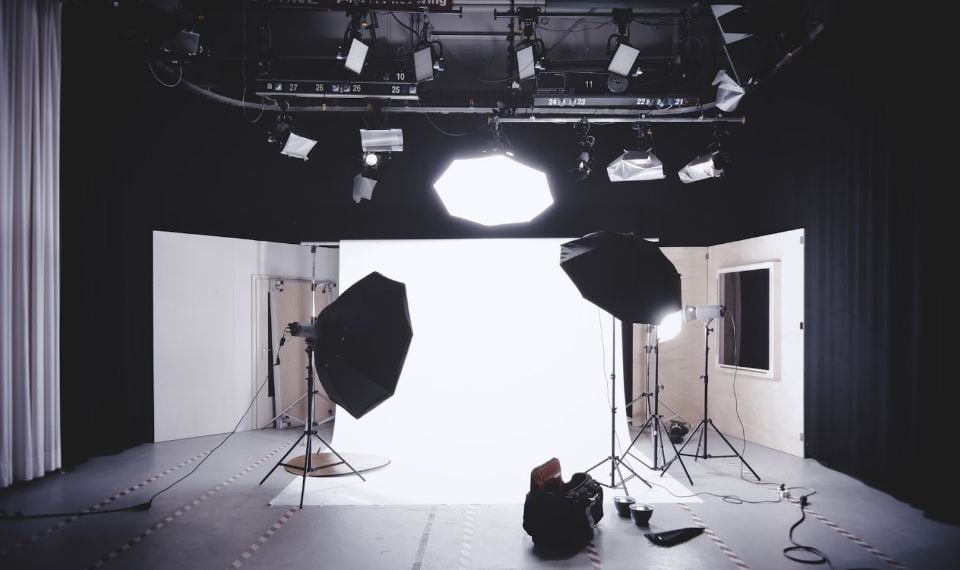
Light is a powerful tool for the photographer. It can help "rejuvenate" the model for ten years, or, conversely, "age". Correct lighting will help to "lose" a few pounds of weight or add them. Light allows you to create a special atmosphere for a portrait - from bright and cheerful to dark and ominous, create different visual effects, highlight the important and fade the secondary into the background. Knowing how to control light will help you become a better photographer and to take better pictures or videos for your project.
Bounced light is a powerful yet easy way to give your footage visual finesse and naturalness. It can soften your lighting without the need for additional diffusers and stands. Let's take a look at how to properly install and use it.
Bounced light is a surprisingly simple lighting concept, but it can instantly bring your photography to the next level. In this article, we'll take a look at how bounced light can help enhance your footage in ways you never imagined.
Use and create bounced light
It's incredible how just one light, not direct, but bouncing off something, changes the mood and tone of your image or video.
By simply aiming the light at the ceiling or one of the white walls that can be used as a light source, you will fill the room with welcoming soft light. It's an incredibly simple process that can produce some cool results. Indeed, a simple reflective surface used as a light source, such as a wall or ceiling, can make your videotape lighting more cinematic, which will greatly improve the quality of your project.
Do-it-yourself methods can be used to reduce production costs and cash, special paper can be used to simulate warm, practical light.
Reflected light can enhance the look of your design, and its undoubted advantage is that it is really easy to work with even for beginners, and in many cases, the cost will be minimal.
Features of bounced light
Bounced light has a slightly sharper picture than diffuse light. However, it is much softer than a naked flashlight. The reflected light is obtained using reflective umbrellas or reflective panels, light discs, or even ceilings or walls.
If light from a source is first reflected from a surface, and only then hits an object, then in fact the reflecting surface becomes a source that emits light. Therefore, reflectors can often be considered as an additional light source in studio lighting schemes. For example, if you're only working with one candy bar, flash, or even a window light, adding a reflector will effectively give you a dual light scheme.
Accordingly, the larger the reflective surface, the softer the light will be and the larger the light spot will be. For example, light reflected from a white ceiling will be significantly softer than light reflected from a disc of light with a diameter of 60 cm.
The light pattern is also influenced by the surface texture of the reflector (reflective material). Typically, white or metallic surfaces are used as reflectors. Metallic materials reflect light more intensely than matte white surfaces.
Therefore, to create ultra-soft lighting for beauty portraits, the model is sometimes surrounded by large white reflective panels that provide even fill light.
Reflection of light from shadow
When lighting a composition, it is often necessary to bounce light to remove small shadows. Professionals use reflective panels, which are sheets of white cardboard or discs covered with reflective material.
White cardboard can successfully replace the reflective panel. One of the advantages of this is that you can fold cardboard. This allows you to change the shape of the sheet and, accordingly, affect the parameters of the reflected light.
To use the screen, bend it so that it faces the character you are about to light.
If the actor has shadows on the face, try reflecting the light and filling them. To do this, the shadow must be directed to the character at an angle. The figure below shows how the screen should be used as a reflector.
The use of reflective screens is a prerequisite for professional photography and video filming. You can see such screens in photo studios and on film sets. If you want to listen to high-quality video - pay attention to this useful technique.
Problems
When it comes to metering, when dealing with bounced light, you need to be aware of the exact effect you want from the start.
Try different angles to help control the amount of glare in the frame. Flare in the frame and reduced contrast can be attributed to both the disadvantages of bounce lighting and special artistic techniques.
But the main problem that arises when shooting in this kind of light is the lack of dynamic range of the camera, when the camera "goes blind" - either the light source is smeared into a big white "pancake", or everything around turns out to be too dark. But even this drawback can become a special artistic device.
Also, pay attention to how the bounced light reflects off the illuminated surface. It can be reflected to the side of the lens at a specular reflection angle, and thus can produce too high a brightness on the subject. Then the illuminated areas inevitably go into the area of overexposure, are not printed on the picture, and lose their texture. Although, as mentioned above, this can be another technique.
Remember
It is very important to understand that photography is a creative process. You can and have to improvise with lighting and tools. But knowing the basic base and principles of lighting formation, you can greatly simplify the achievement of the intended picture and the effects in it, as well as help yourself to determine in advance the necessary shooting equipment.


