This is a quick tutorial on how to use the Source monitor in Premiere Pro and how to make it super useful in your daily editing routine.
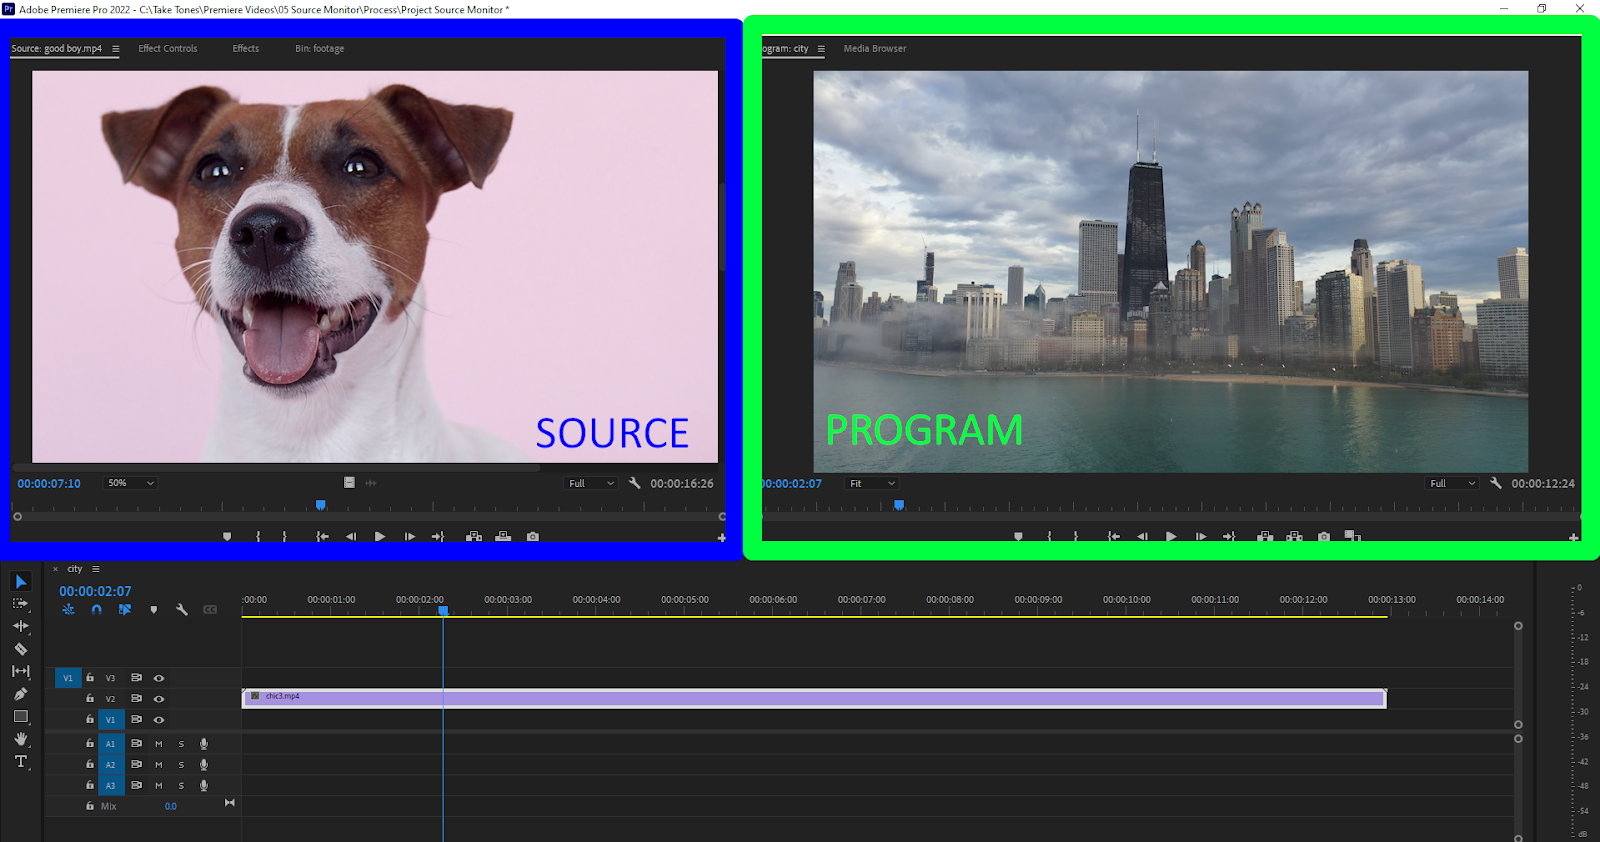
Let’s start from scratch and see what the difference is between the Program monitor and the Source monitor. The Program monitor (usually on the right) is linked to your Timeline: it shows what happens on your Timeline. The Source monitor (usually on the left) is used to preview your source clips.
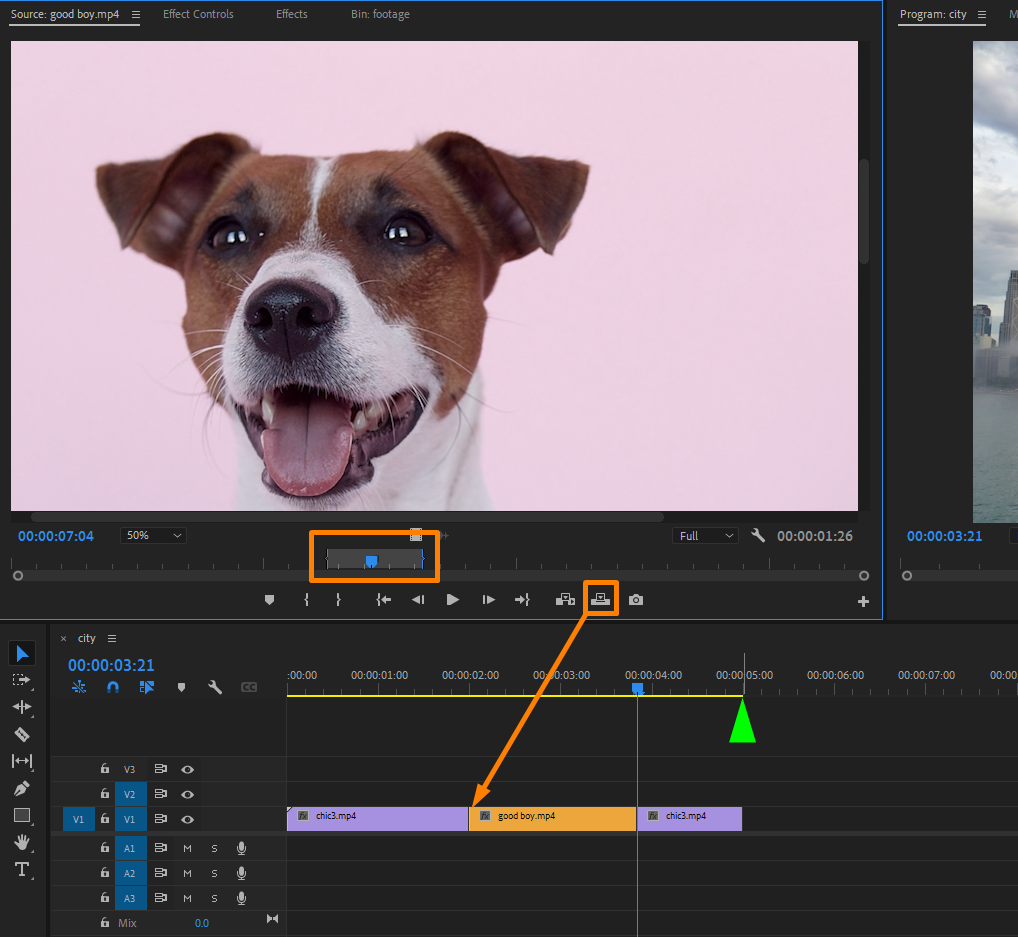
So if you double-click on any clip from your Project panel you will see it in the Source monitor. And you can watch your clip from the beginning to the end and choose those parts of it you want to see in your project.
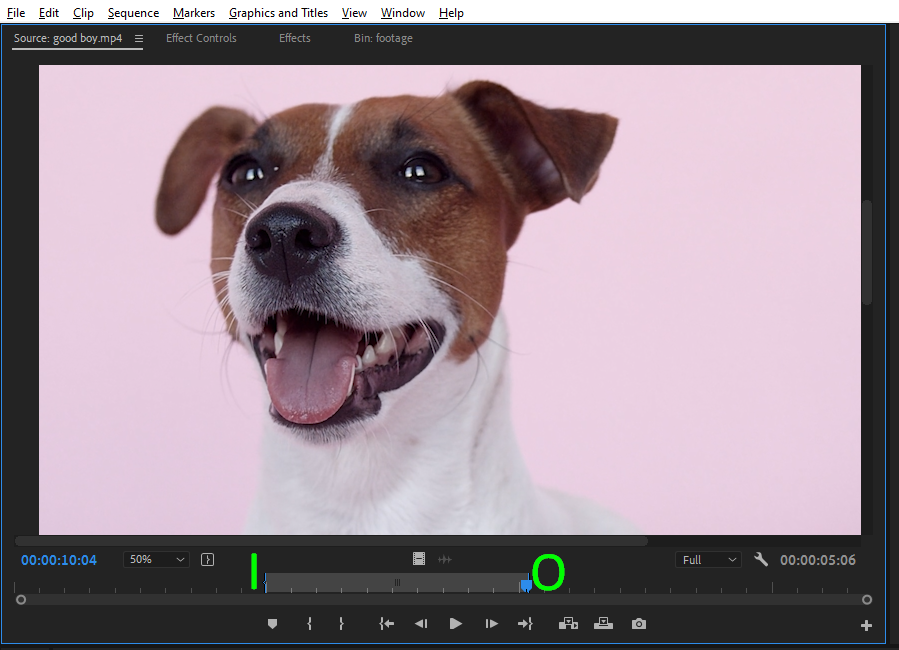
Let's say you need to add a small part from the source video to your project. Go to the start point of this video on a Source monitor, hit I, then go to the end point and hit O.
You can also use brackets buttons for In and Out points, but we recommend always using hotkeys to make your work more efficient.
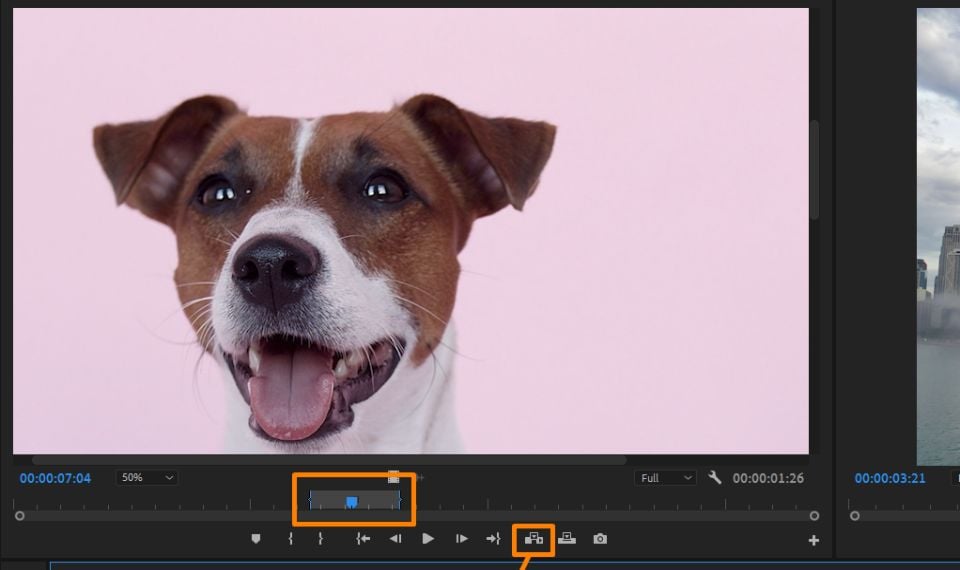
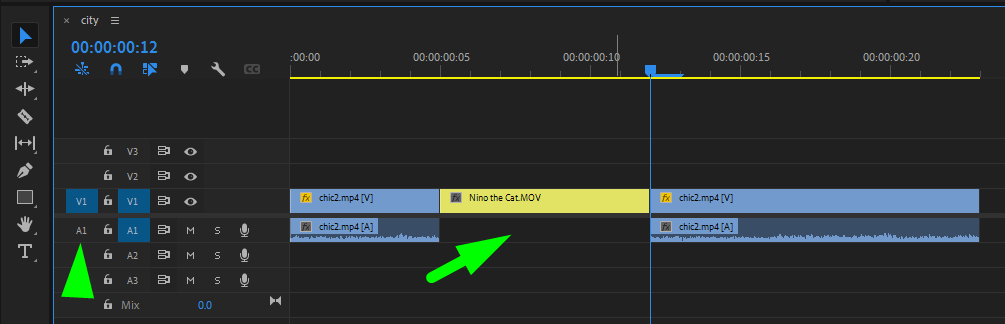
Now you can put this highlighted piece on your Timeline, wherever your playhead is. There are two ways to do that — Insert or Overwrite. Insert pushes over all the rest of your material to the right.
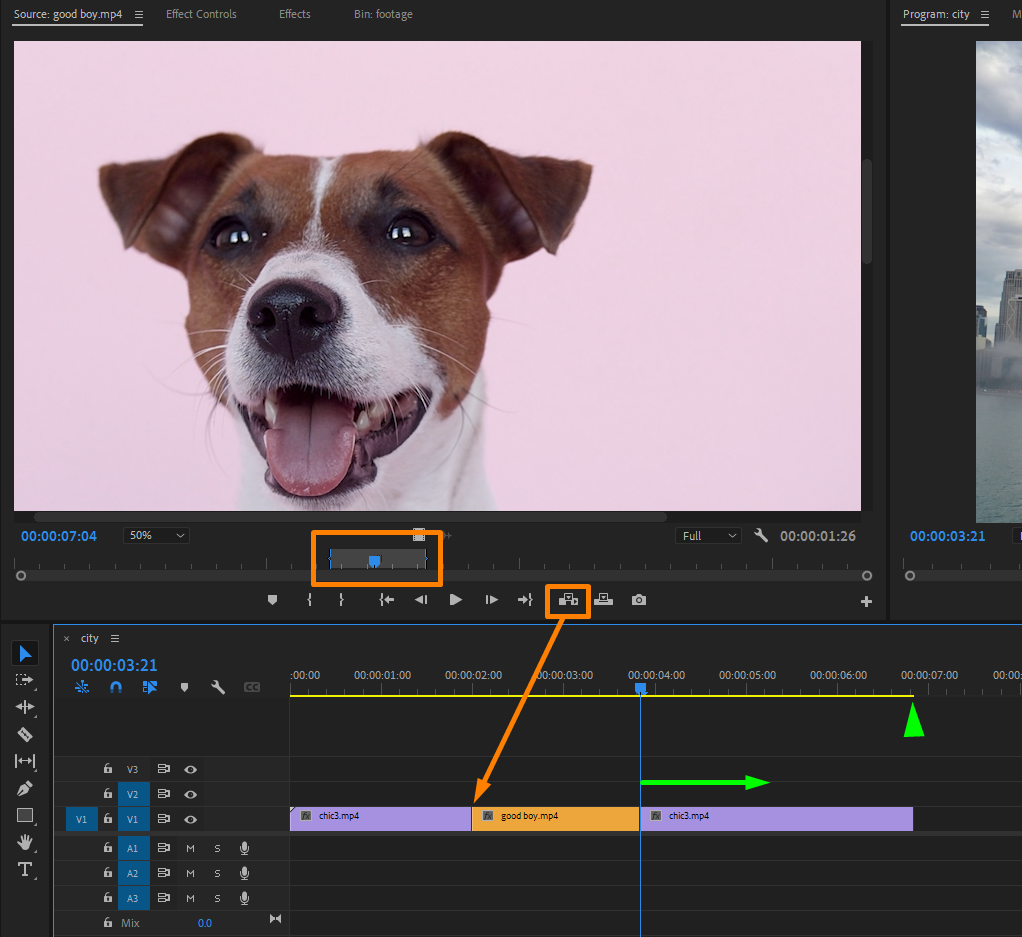
Overwrite works the same as if you drag-n-drop a new clip on a Timeline, it overwrites the previous clips.
But consider not to use these buttons and work with shortcuts. Use comma ‘,’ to Insert and period ‘.’ to Overwrite.
Another important thing to mention. Pay attention to these V1, A1 buttons. They show which track is chosen to insert your clip.
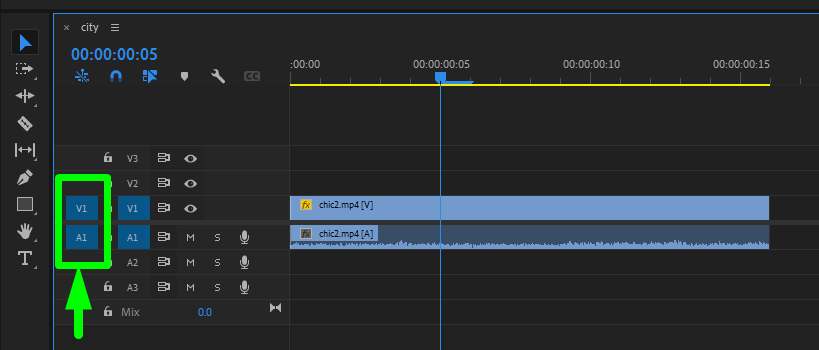
Sometimes you might try to add a new clip but can only see the video on your timeline. That just means that A1 is not active. So activate it and try again.
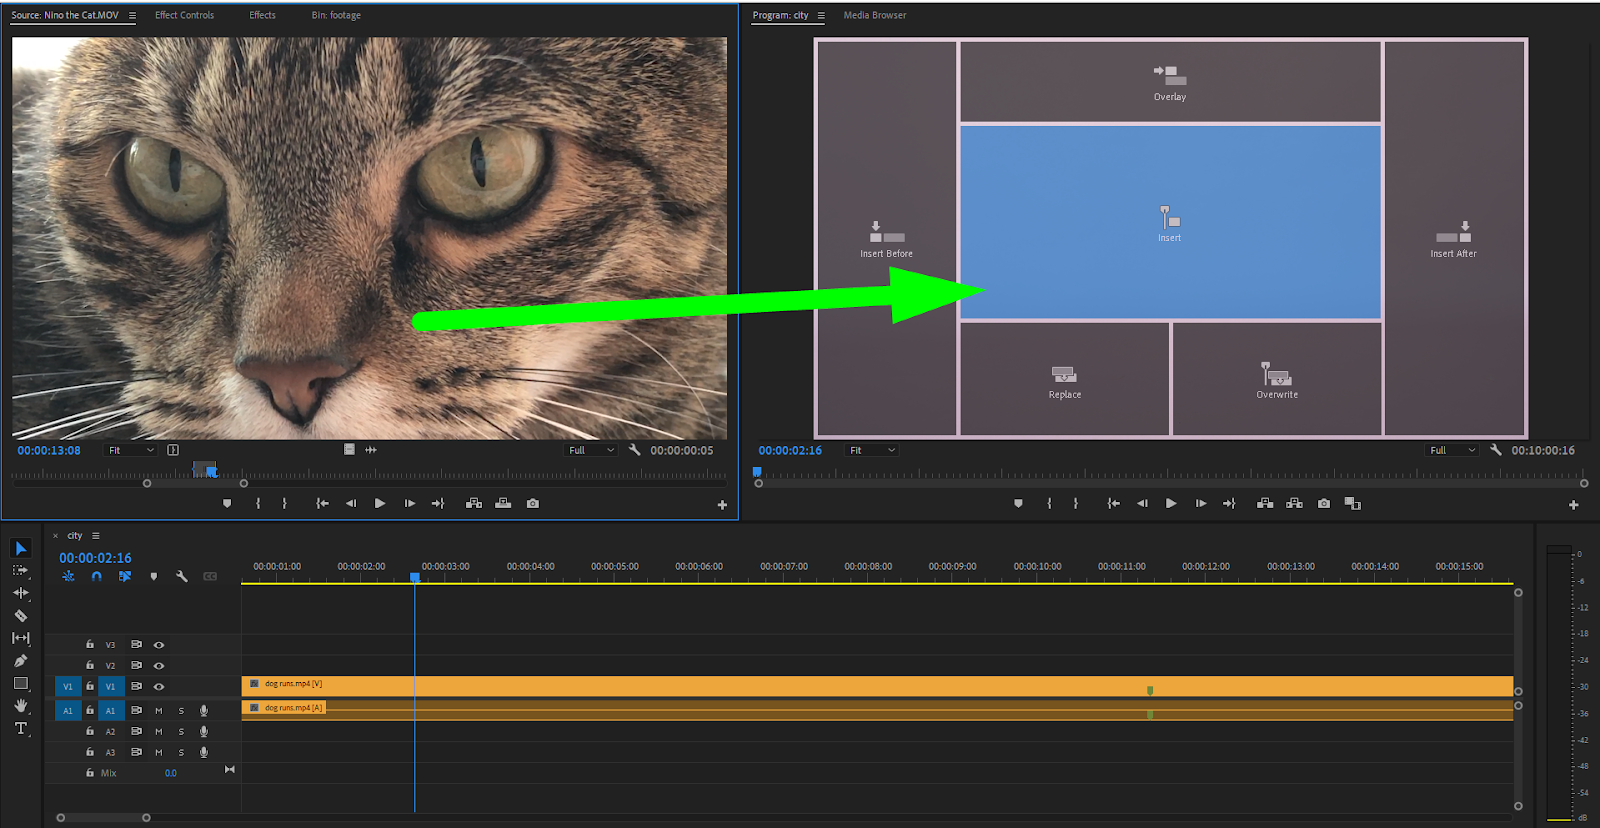
There is another way to place your selection on the Timeline. Just drag it to the Program monitor and see the multiple options that you have. You already know Insert and Overwrite. You can also Insert Before… and Insert After the clip your playhead is standing on. Also Overlay — which places your selection onto new tracks. And Replace — which works only when you activate the clip you want to replace.
Notice that the following shortcuts you use on your timeline also work on the Source monitor.
-
● The Arrows move the playhead back and forth by 1 one frame.
-
● Holding Shift+Arrow moves the playhead by 5 frames.
-
● Use L to play, K to stop, and J to play backward.
-
● To play at double speed, hit L two times. Hit L again and again to make it even faster. J works the same way.
-
● And if you want to play two times slower hit K+L or K+J depending on which direction you want to move.
What else? Use these icons to drag-n-drop only video or only audio on your timeline.

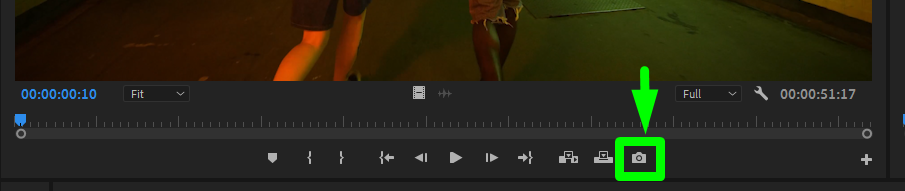
You can export a frame from your clip, just go here and choose a format.
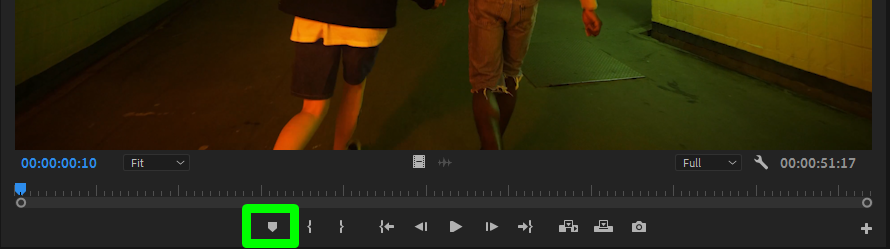
Also in the Source monitor, you can work with markers. Just add a quick note wherever you want, use different colors, notice that markers you add on your clip also appear on a timeline.
Hope that information was helpful! Have a good one :)