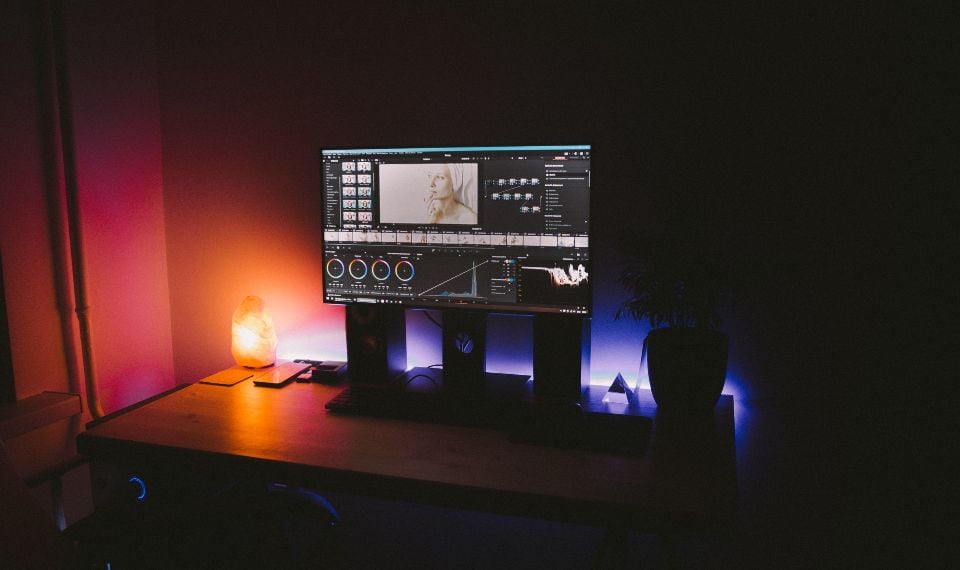
DaVinci Resolve is a certain app specializing in color correction and non-linear video editing as well. It is an inimitable source which enhances any working process. When starting cooperating with DaVinci Resolve you should be aware that its functions are completely different from Premiere Pro. To be confident that you are doing everything correctly, look through all the edits a little below.
Da Vinci Resolve incorporates loads of valuable tools which simplify your workflow. Such as the following ones which assist in creating:
-
● roll edits
-
● ripple
-
● slide
-
● slip
Nevertheless, dealing with these tools is not a basic idea. We’d like you to learn more about Trim Edit mode instead.
A Dynamic Trim Edit
Trim is considered to be dynamic. While exploiting the Trim Edit mode there is the opportunity to implement various edits relying upon the position of the cursor. In the case of having a desire to accomplish all the necessary tasks rapidly, it is the coolest option to do it.
You don’t need to press diverse key combinations or search for a specific editing icon. Don’t forget to stay in the Trim Edit mode in order to carry out all the functions. (To find this mode, scare up the letter “T” on your keyboard, then press it).
Now let’s track down the sequence of the activation process of all editing modes.
A Ripple Edit
When the necessity of editing several videos at the same time occurs, this edit is rather advantageous. The core concept of it is centered on a file size transformation. To cope with it, move the mouse pointer from the video’s end to the middle or any other part of the file (it hinges on a desirable appearance of the editable content). The cursor will be transformed into a special icon. Thereafter it is time to undertake editing.
A Ripple Edit either cuts or extends your clip. It does not solely modify your video’s length, however it shifts the clips forward and backward. Likewise, it alters the file’s duration and it can change syncing among varied tracks.
You may see two opposite colors from both sides of your clip (green or red). Green color signifies that there is an untapped footage and it can be lengthened. Meanwhile, red indicates that there aren’t any options left.
A Slip Edit
It is situated next to a Slide Edit. Thus, you may inadvertently click the wrong button and get them mixed up. To implement this type of edit, you ought to put the mouse pointer at the top of the thumbnail preview of the content.
A Slip Edit maintains media in a similar position inside the timeline. In accordance with it, there is the possibility to utilize all media data beforehand or afterwards the actual edit points.
There is one obligatory thing to possess in order to engage exactly this edit in your workflow. It is the activation of the thumbnail previews within the timeline. However if you like editing without using this function, there is the chance to raise the track height to show a solid-colored supplementary area to fulfill a Slip Edit.
Additionally, remember that the Dynamic Trim may become less efficacious due to the track height.
A Roll Edit
To carry out it, direct the mouse pointer among two pieces of different clips. After it is done, you will notice the icon.
The edit will alter the location of the edit point thereby abridging the outgoing clip or, contrariwise, extending the incoming one. Compared with particular edits, this one does not have any functions to make adjustments in the duration of the clip.
A Slide Edit
For someone it might be obvious that this edit can be conducted by putting the mouse pointer below the thumbnail previews jointly with the filename.
A Slide Edit, will provide the clip’s range of media with a similar duration, nevertheless replace the clip to one of two sides.
A Dynamic Editing
Every single trim edit tool is qualified as the best method of editing. All of them have loads of benefits that can facilitate your working process and shorten the amount of time that is focused on editing as well.


