Instructions for anyone who wants to master one of the best video editors for Windows and macOS.
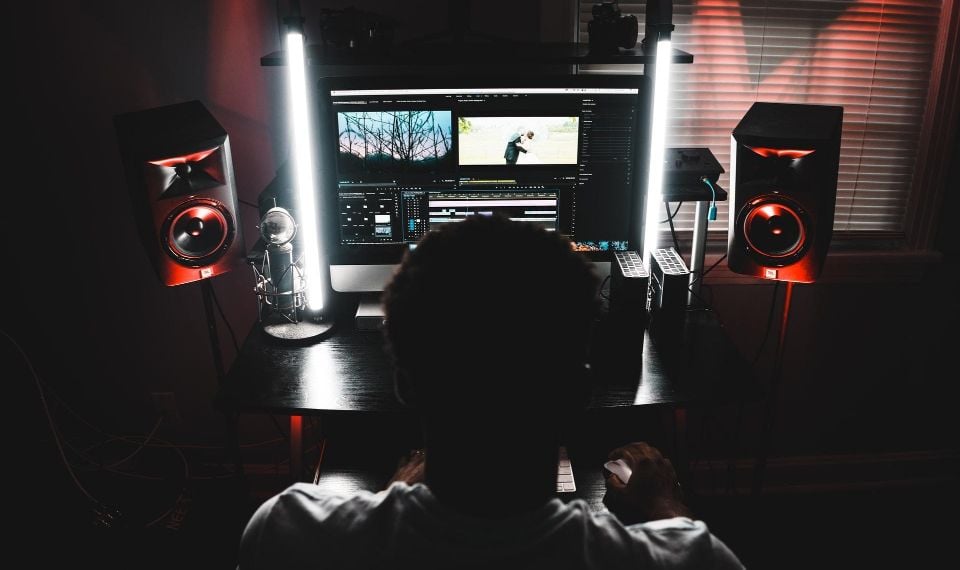
If you intend to seriously engage in editing (for example, for your blog on YouTube or customers) - you should take a closer look at the program Premiere Pro. The wide functionality and user-friendly interface have made this editor popular among professionals. And the many tutorials and courses available on the web make it attractive to newcomers.
It should be said right away that the program is paid and is available on subscription for 18$ per month or 210$ per year. Since it is a professional tool that opens up prospects for good earnings, this cost seems justified to many. You can use all the editor's features for free during the first week.
This text won't turn you into a Premiere Pro guru, but it will get you up to speed on the basics.
1. Install Adobe Premiere Pro and familiarize yourself with the interface
Download a trial version of Premiere Pro from Adobe's official website and follow the installer instructions.
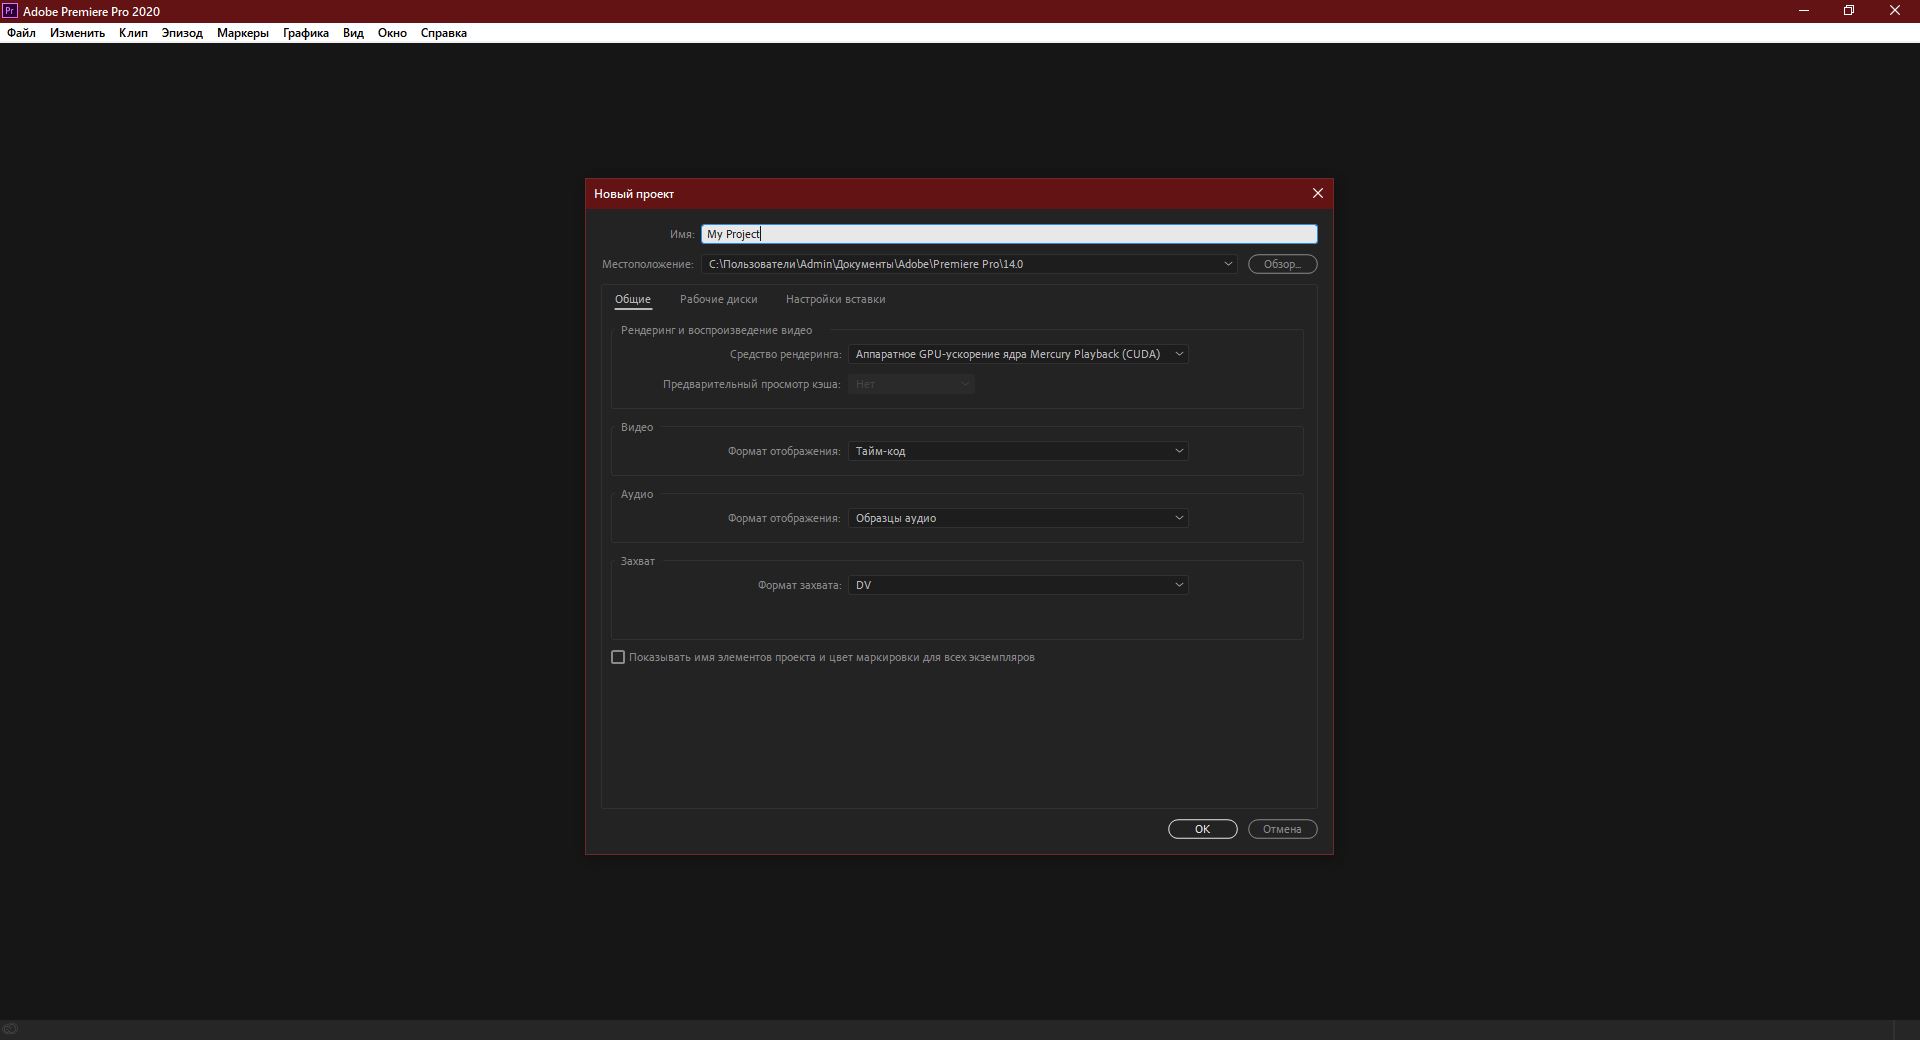
When you run the program for the first time, you will be prompted to create a new project. This is a kind of draft in which you will work on the future clip. Enter a project name in the Name field and specify a folder to store it in the Location field. Then click OK.
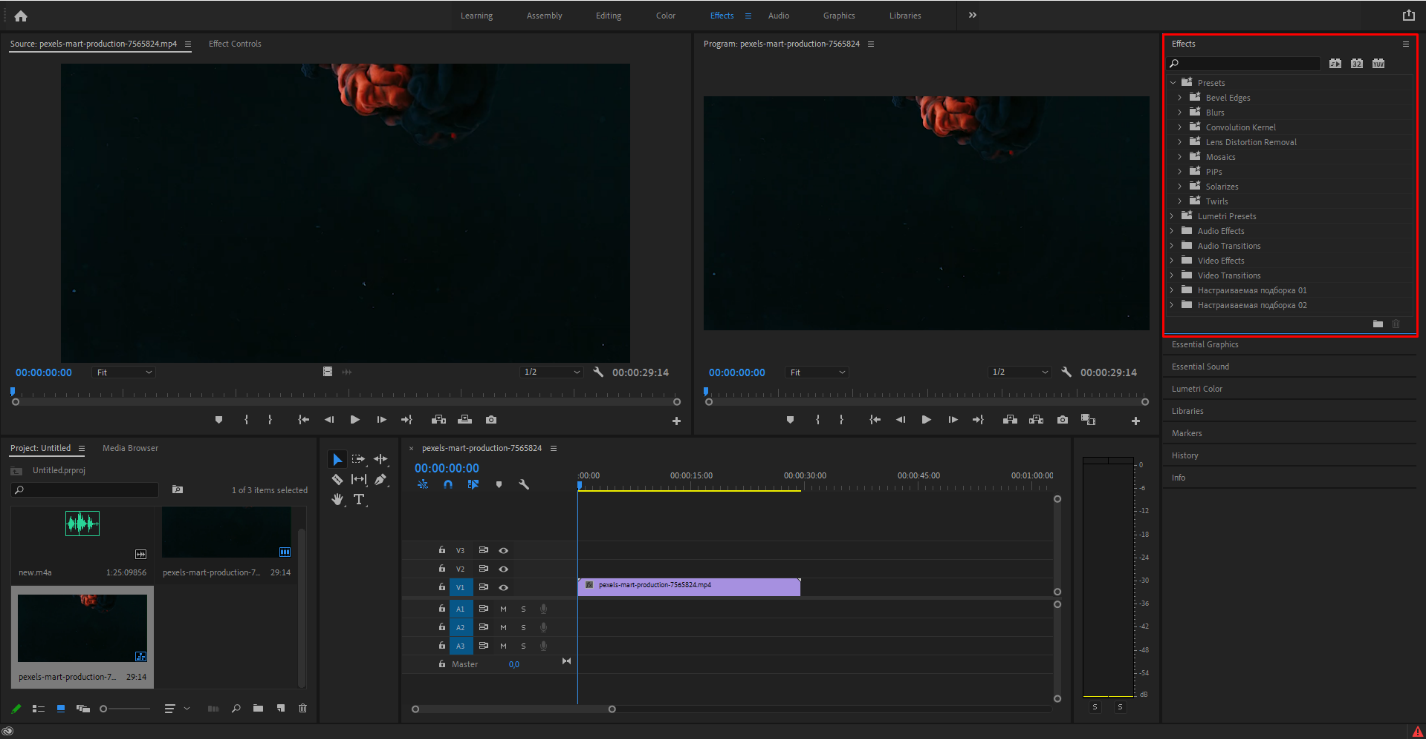
You will see the main screen of the video editor in front of you. The tabs at the top of the window are used to switch between the main sections of the interface. Click Edit. Here you will find the basic toolbars: "Source", "Project", "Timeline" and "Program". These are the ones you will be working with most of the time.
2. Add the original media files
Drag and drop the sources you want to assemble your final video from into the Project pane. These can be clips, audio files, or still images. Their thumbnails will immediately appear in Premiere Pro.
If you want, you can always preview any added file directly in the program's interface. Just double-click it and Premiere Pro will play it back in the Source panel.

3. Move the files to the editing area
Drag the source file from the Project panel to the Timeline panel. If there are multiple clips, select the one you plan to make the basis of the final video.
If the program informs you that the selected file does not match the current settings, click "Change Episode Settings". This will optimize the panel settings to work with your clip.
Then drag and drop all the other source files you need for editing, including audio and pictures, onto the Timeline panel.
Figure out how the panel is arranged. The sources are displayed here in the form of time segments. Each of them occupies a certain track or, one might say, a layer. The ones marked with A are for audio. Those marked with V are for clips and static images.
If you place two video clips below each other, only the top one will appear in the final clip. Keep this in mind when editing.
4. Edit the sources
Use the tools in the Timeline panel to edit the added files and assemble the final video.

"Trim" allows you to remove fragments from clips and audio files.
You can use the Hand tool to scroll the timeline along with the files placed on it.
"Selection" performs several functions at once. Among other things, this tool allows you to
-
● Drag and drop audio and video segments both between different tracks and relative to the timeline. You can assemble video sequences like a mosaic.
-
● Adjust the time frame of each slice on the timeline. To do this, simply pull the edge of the segment to the side.
-
● Control the volume. First, you need to double-click next to the microphone icon to the right of the audio track. When it expands, simply drag up or down the line that runs along this track.
-
● Delete unnecessary fragments. Select the segment and press the Delete key.
To understand, try each of the listed tools and observe the "Program" panel. This is where the current editing result is displayed.
5. Add transitions, music, and titles
If you wish, you can decorate the splices between fragments of the clip with various effects - video transitions. To do it, find the "Effects" tab in the "Project" panel and click "Video transitions" in the list that appears. Try the different ones and choose the appropriate ones. To apply an effect, simply drag it from the "Project" panel to the border between two segments of the clip.
If you need to add author names, quotes, or any other text to your video, click the "Graphics" option at the top of the window. Select the appropriate title template in the right pane and drag it to the timeline. Type the desired text in the Program panel.
If you need music, download the file as well as the original, remember not to get banned from social networks you need royalty free music, download the file just like the original one.

6. Save the result
When you have finished editing, save the final video. Click "File" → "Export" → "Media Content". In the window that appears, specify the appropriate settings.

If you do not know what settings to select, specify the H.264 format. This will work in most cases. Then select one of the Adobe templates. For example, there are presets for YouTube and other popular services listed.
In the "Output File Name" field, enter the name of the clip and specify the folder in which you want to save it. Then click "Export" at the bottom of the window and wait until the program saves the result to the computer memory.