
How to Easily Animate Your Logo in Adobe After Effects
A logo is the first thing that associates with your brand and sticks in the mind of your audience. There are so many ways to animate the logo both in 2D and 3D. Whatever you choose, the point is to make it fresh and impressive.
In today's tutorial, you'll learn how to create a simple dynamic logo animation. We even played with our brand and created an alternate Taketones logo :-) Look what you can get in the end.
Let’s start with the very first step to create an animated logo.
1. Create a Path
First of all, we have to make a Path for our animation. Follow these steps:
1. Take a New Composition.
2. Select W-1920, H-1080 for a new frame.
3. Select Solid color from composition to make a background.
4. Go into Effects & Presets, select Gradient Ramp, choose the color and provide a layered look.
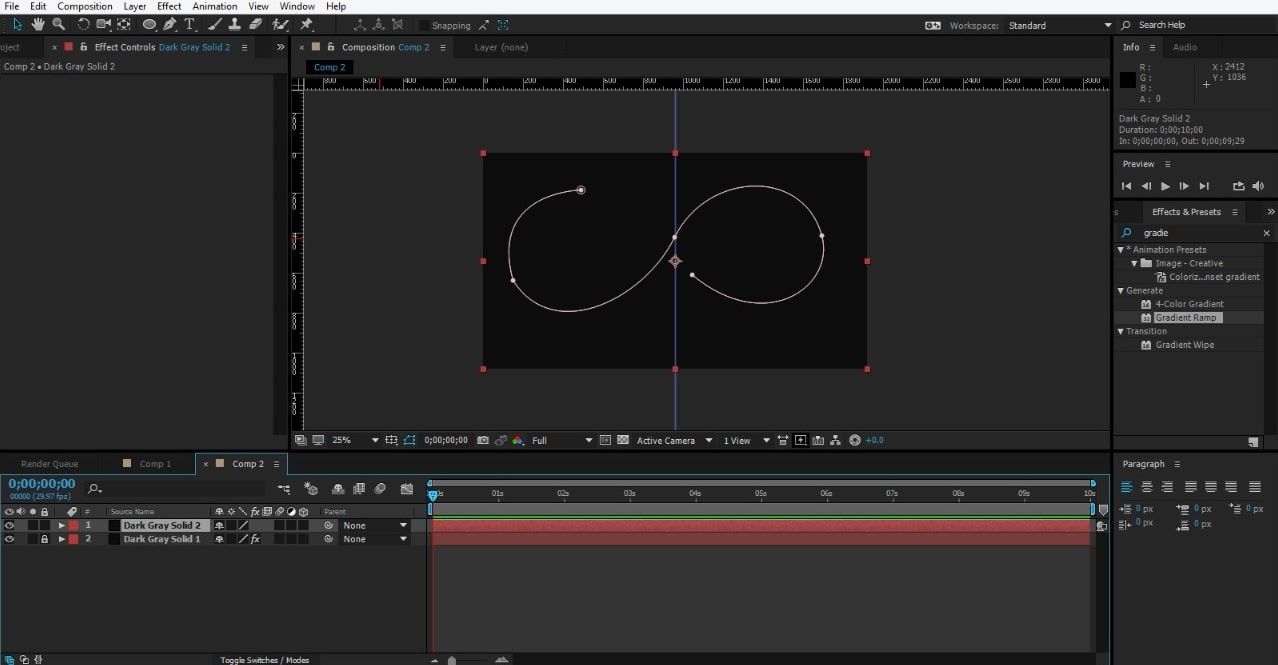
5. Now go into Composition, choose the solid color, then create a Path with the help of Pen tool.
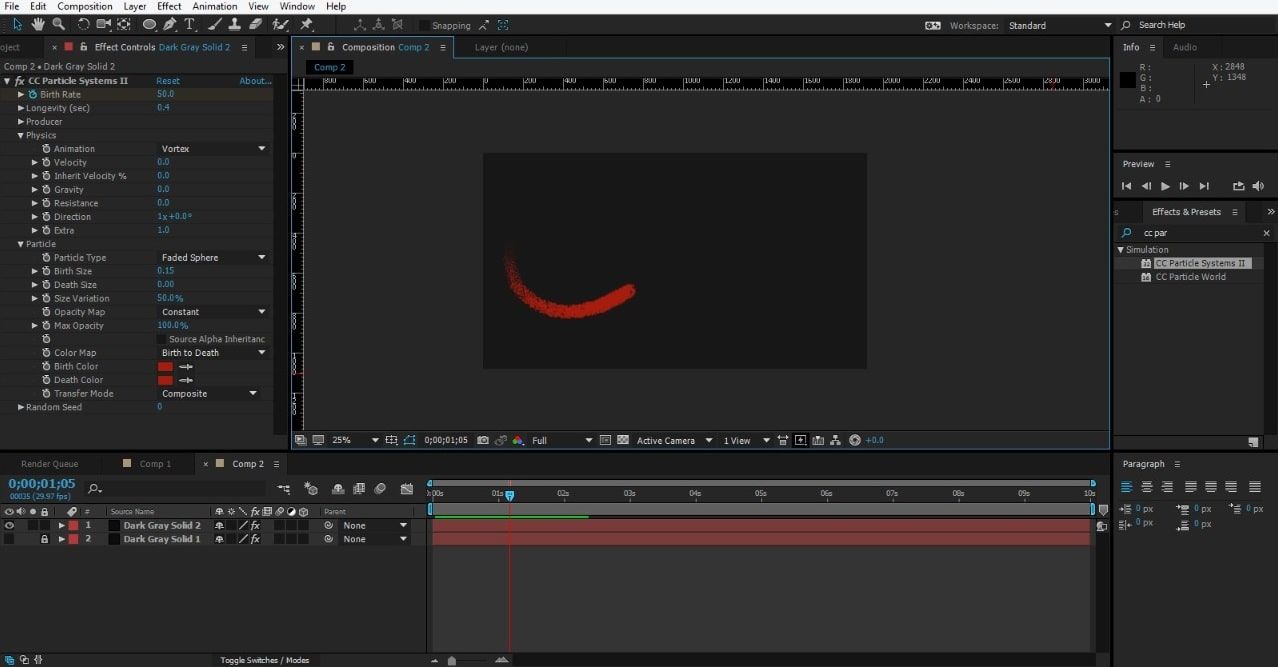
6. Go into Effects & Presets and drag-and-drop CC Particle Systems on to the Path Layer.
• Now go into Birth Rate and make it 50, and set longevity to 0.6%.
• Set Vortex to Physics Animation, change Velocity to 0,
• and set Gravity to 0.
7. Now go into Path Layer, select Mask and copy it. Then go into Effects & Presets, choose Producer, open its drop-down and paste it in its position.
2. Start Animation
For activating animation there are some very simple steps:
1. Go to CC Particle Systems > Particle > Particle Type > Faded Sphere.
2. Select Death Size and set it to 0, and make Size Variation value 100%
3. Then choose Opacity Map > Constant.
Then go into Effects & Presets, drag-and-drop Simple Choker and set Choke Matte to 0.

3. Set dimension and color for the logo
Now we have to set dimensions and desired color for our logo animation. Follow the next steps:
1. Duplicate the Path Layer and change the color from CC Particle Systems, and now set Choke Matte value to 23.7 or whatever you like.
2. Then do duplicate both layers of Path 1 and Path 2.
3. Right-click on that layer and select Transform > Horizon.
4. Now select Ellipse Tool, select Transform > Scale > 0-100 in the option of the Shape Layer.
5. Then select Stroke into an Ellipse, and set the stroke width to 60-0.
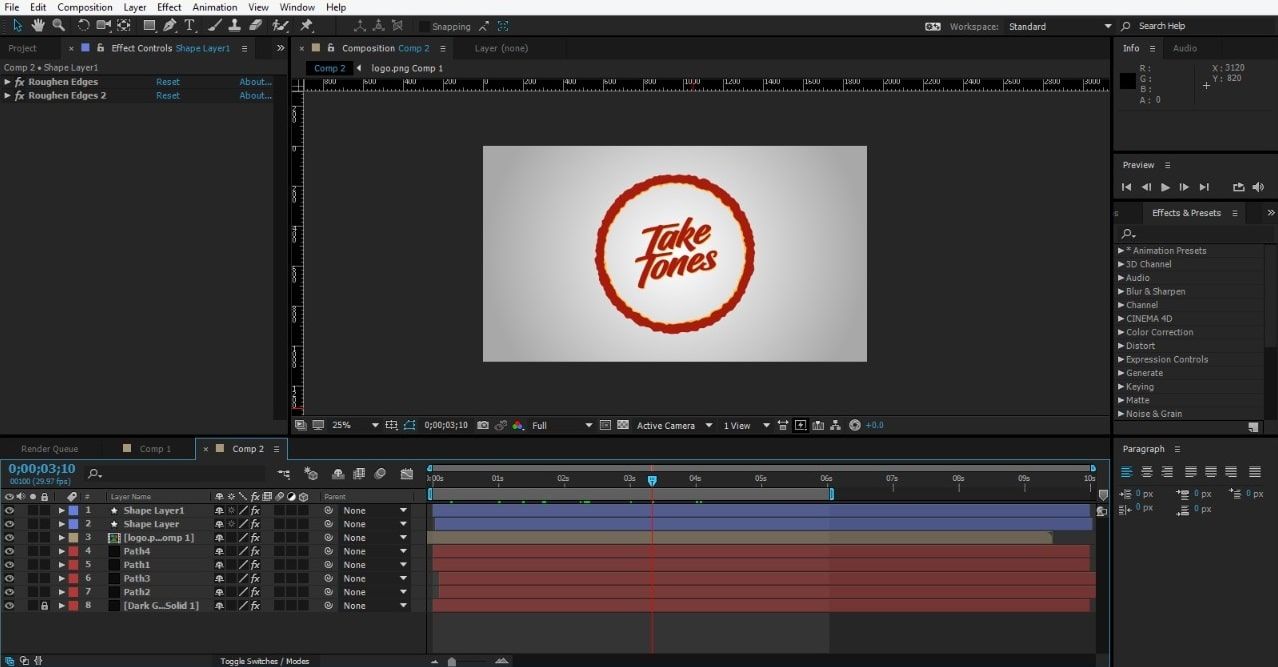
6. Now go into Effects & Presets, drag-and-drop Rough Edges onto the Shape Layer.
7. Set Border to 25 and Edge Sharpness to 0.5.
8. Next, open the duplicate Shape Layer and change its color.
4. Add the logo into animation
The last step we have to take is to import the logo into After Effects and do some work for final execution.
1. Now open the logo into After Effects by pressing Ctrl+I.
2. Make that logo small with Scale and set according to your circle.
3. Select the option "Move all attributes into the New Composition" with Ctrl+Shift+C onto the layer of the logo.
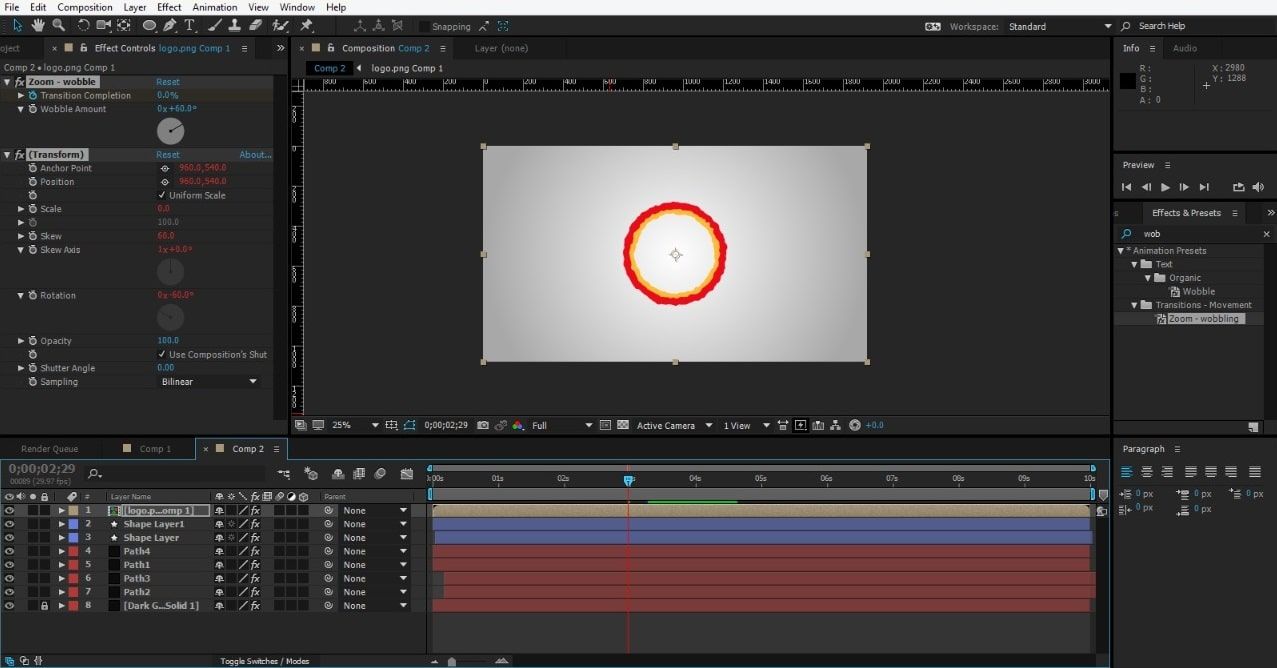
4. Go to Effects & Presets and drop the Zoom - wobble onto the logo.
5. Save the result with Ctrl+S.
That's it!
In this way, you can customize the settings and animate your brand logo. It is more impressive and eye-catching than a simple logo made in Photoshop. With these simple steps, you can add animation to your existing logo as well.
Don't forget to add the sound to make your animation even brighter. In our example this happy track was used.