
There are multiple ways to get text animation, but today we're going to make it with the help of Stroke Effect, one brilliant tool of Adobe After Effects.
It is very easy to use and makes the video and text more interesting with less effort. This can work as a revealing effect, or just to bring the text to life. In this method, different shapes and keyframes are available to use.
Look what you're going to get as a result.

Let's go step by step so that you can easily understand how to get it in your project. So without going into detail, let’s get started.
Step 1: Create a background
The very first thing we have to do is selecting a background. Here I will select a suitable background on which my text is going to show. Follow these steps to select a background:
• Take the new composition;
• Create a new frame: select W-1920 H-1080 for high definition quality;
• In Layer option, select a solid color. Choose any color you want.
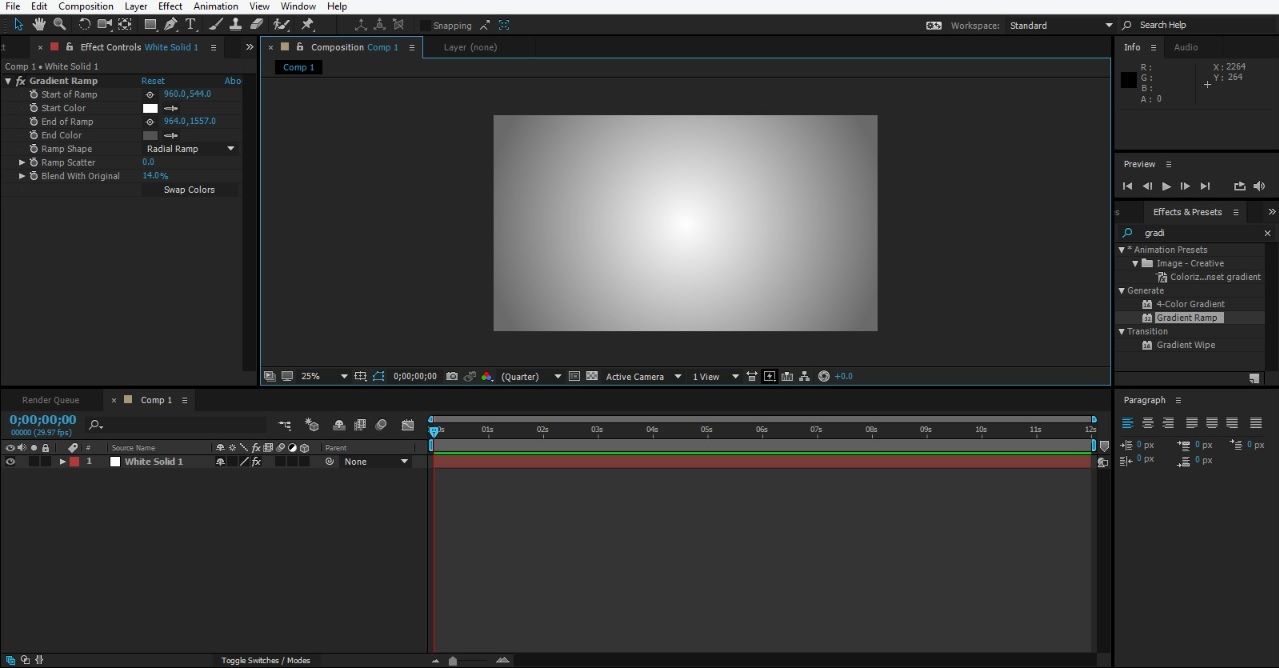
To provide more effect to the background, select Gradient Ramp and make a gray and light background.
We've created our background. Now it's time to create the text.
Step 2: Create the text
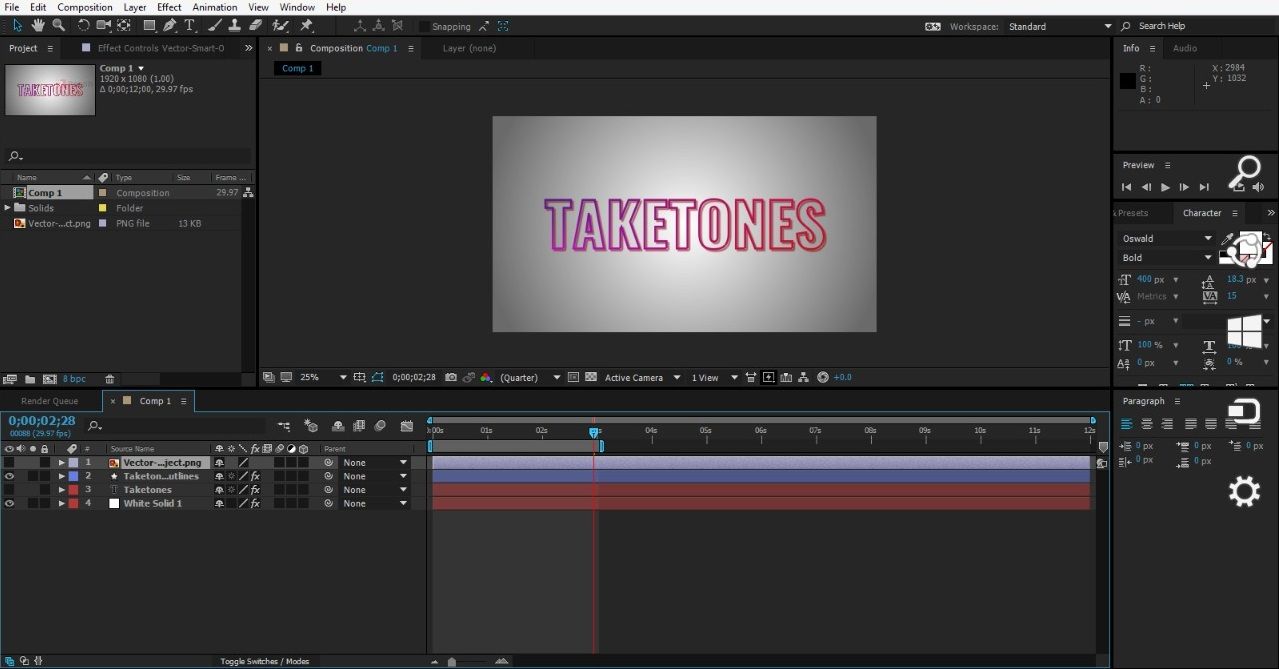
Create the text. It may be any title you want to use. To create text, use the Type tool and just type your text.
To provide color to the text, use Character tool and select any color you want.
Step 3: Animate the text
Now we will give the effect on the text which we call a stroke effect. To apply the stroke effect to the text:
• Use the Character tool and select Stroke;
• Set stroke width 10pix;
• Choose the color you want to apply to the stroke effect.
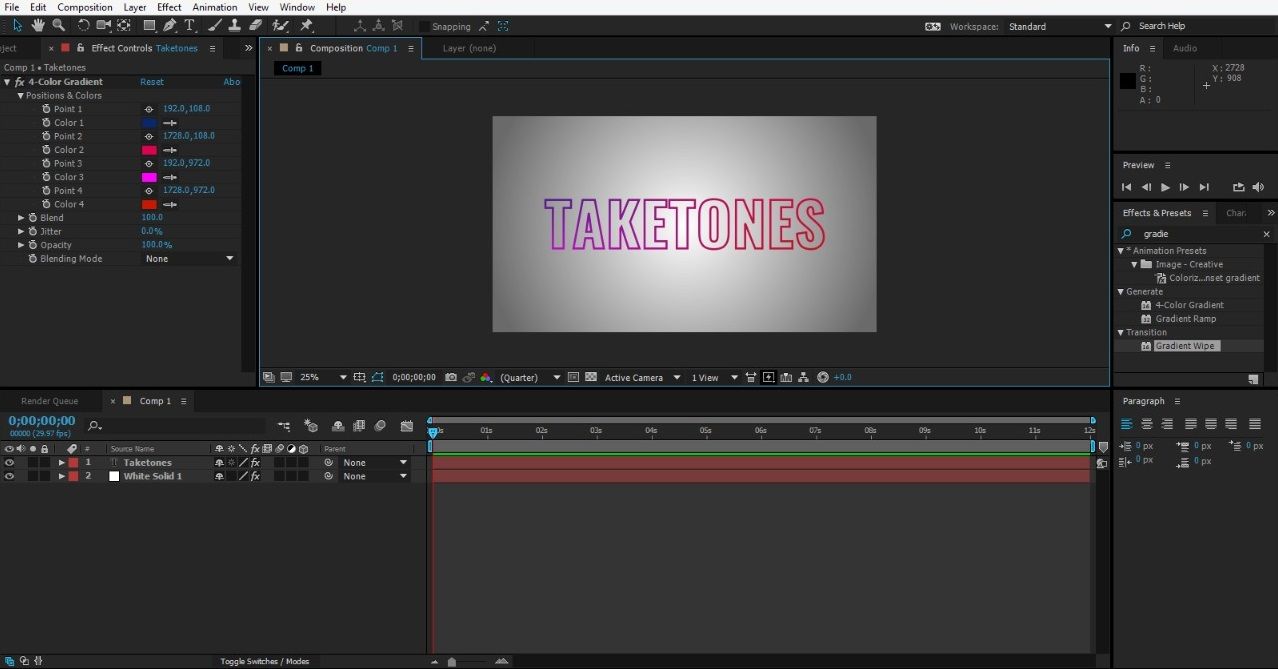
To apply the color effect to the stroke effect:
• Go into effect preset and select 4 color gradients and then choose any color according to your requirement.
Now we need to give a shape to our text as well as to the stroke effect. You can select any shape you want to apply to the text.
The major steps you have to do for converting the text into shapes are:
• Right-click on the text layer and select Create Shapes from Text and convert it into shapes;
• Open the drop-down of the shapes layer and
• click on Add Key and then select Trim Paths;
• Open the drop-down of Trim Paths and click on start’s stopwatch and make it set as key to 100%.
• Now add a keyframe at some distance with the help of time ruler and make its position set to 0.
Hence our animation is ready to execute.
Thus with these very simple steps, we can create a stroke effect in our text. It looks very pleasing and much more interesting when the text in the video reveals this way than it just fades.