
Adobe After Effects is one of the most powerful packages for developing videos for various purposes like social media promotions, home video design, and much more. Learning After Effects has its complexities, but with proper practice and some state-of-art techniques, you can develop high-quality videos and become more productive.
People around the world get intrigued with engaging video content, and Adobe After Effects helps you to provide engaging and quality video content without the requirement of extra cost. Hence, you can use After Effects to a great extent for your promotion. Now, we will look into the tips that could make you get more productive in Adobe After Effects.
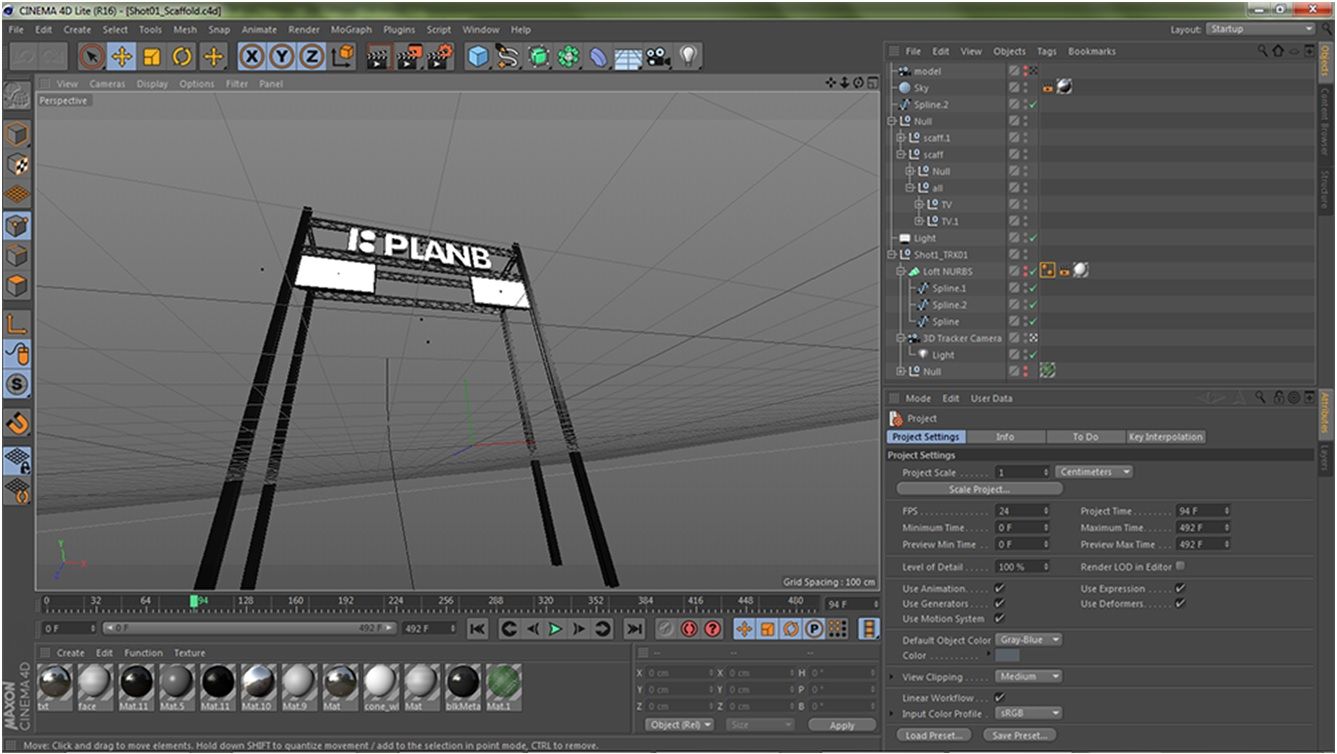
Try Cinema 4D Lite
Cinema 4D Lite is a three dimensional creative and animation software that comes along with Adobe After Effects. The primary purpose of this software is to integrate the three-dimensional elements inside your compositions on a direct basis. It opens a new world of animation for people to improve their video quality and enhance the video with various attractive animations.
Memory Optimization
Adobe After Effects shares your computer's primary memory with the other Adobe application software like Premiere Pro, Prelude, Photoshop, Audition, and much more. You should close these programs in case of not using them. This will help the After Effects utilize all the initial memory allocation.
One important tip is to leave enough memory for other applications. Some AE professionals try to make the memory allocation as low as possible for other applications which might disrupt the working.
The entire operating system requires RAM usage. So you should plan the RAM usage meticulously. To make it simple, you should abide in default settings.
Keyboard Shortcuts – Time Management
Shortcuts are an effective way to reduce working time. You can work faster than before and provide effective results with shortcuts. Let us look into some keyboard shortcuts which enable you to work fast.
Transform Properties – A for Anchor Point, P for Position, R for Rotation, S for scale, and T for Opacity.
Alt/Option+ Transform Property Shortcut (P, A, S, R, T) – This shortcut sets a keyframe without the necessity to click on the clock of transform property.
U – This shortcut hides or reveals all the properties with keyframes.
UU – This shortcut reveals all the tweaked or edited keyframes and properties.
E – Pressing E will show the effects applied to a single layer.
EE – Pressing E twice will show the expressions applied to a layer.
J or K – This would jump between visible keyframes by pressing K to move to the next one and J to go to the previous one.
I and O – These combinations of keys allow you to navigate between the beginning and end frames of a selected layer.
Shift + PgUp and Shift + PgDn – This keyboard shortcut enables you to skip the playhead on the timeline by ten frames backward or forward, respectively.
Customized Output Templates
You should create your custom Output Module to use specific render setting and output. The custom output template simplifies your task and reduces the time during the rendering process.
Click Edit – Templates – Output Module
Provide a new name in the settings name according to your convenience. After this, select the format of the video to your requirements. Render a composition in the render queue, then select the Output Module menu. With this, you will see your custom output settings. This would reduce the time and enable you to work efficiently.
Plug-Ins
Plugs-Ins are an effective way to help you get more productive in using Adobe After Effects. There are various plug-ins available for download and use. One such useful plug-in is named Motion2. It provides features like moving the anchor point and adding easing-in and easing-out features. With the Motion2 plug-in, you can move the anchor point with a click which makes it more straightforward than the conventional center aligned anchor point.
Fast Drafts
After Effects houses 3D layers in the videos which are slow to work with. A fast drop option is a solution to this issue. You can use the Fast Draft option in the Fast Previews Icon. This option increases the speed of the rendering previews, irrespective of the rendering medium.
Changing Preview Resolutions
Most of the time, you don’t have the possibility of working in full resolution in After Effects. To increase the speed of the previews, you should preview your compositions at a lower resolution. In most cases, the preview resolution is half the actual resolution, but in worst cases, you can even have one-fourth of the total resolution. Half resolution enables you to access four times the actual frames in the first memory preview.
Region of Interest
You can select a region of interest to isolate a rectangular area in your composition. This is helpful for you while concentrating on a specific area of your composition.
To define a proper rectangular preview region, press the ROI button, click and drag on the composition panel. Choose the area which is of interest, and you want to view it. This section gets selected and will now show into the window.

Media Encoder
Rendering from the queue will tie After Effects and hence you would not be able to do other works. If you are on a network, you can use a virtual machine to render the video. Media Encoder has lots of industry-standard presets, which are customized for Youtube, Vimeo, and other media services. You can set up a watch folder with Media Encoder, and this completes the render process composition of the project which you place it. To incorporate composition to the Media Encoder, select the composition and go to Composition – Add to Media Encoder Queue. This enables the Media Encoder to open, and hence, you can choose the proper settings which you require.
Motion Blurs
Motion blur is a significant effect that enhances the subject in the frame. This makes the audience concentrate on the subject without losing focus. It avoids visual stroking to a great extent. This is a useful tool in product videos and promotional videos. The motion blur icon in the tool area is the shortcut for using motion blur into the frame.

To Sum Up
Adobe After Effects is a potent and useful tool for creating, editing, and improving video clips and can provide a great experience to work with. Such sophisticated software has various facilities that you can use to improve the productivity of the video that you make. With the aforementioned tips, you can work, reduce the time required, and enhance the video production to a great extent.