Color correction is the correction of the appearance of any image. This adjusts the three primary RGB colors - red, green, and blue.
This is the adjustment of white and gray balance, black, also temperature, and tones.
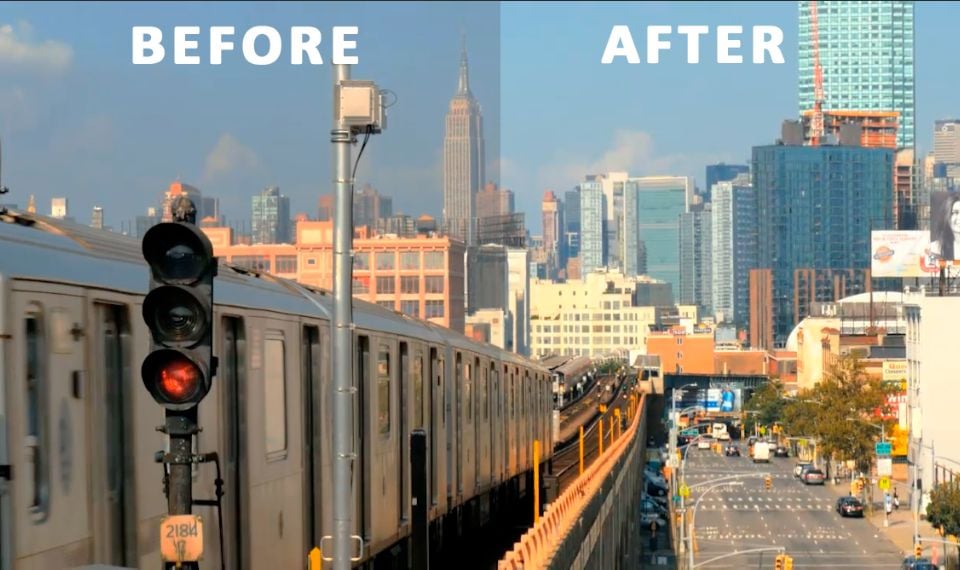
First of all, you see the video clip divided in half, on the left you can see how it looked before processing, and on the right, you will see how it will look after processing. That is, on the left you see a video clip that is a little bit muted, dusty, and less contrasty and bright, and on the right, we see what we will get when it is processed, it will be richer, brighter, and more contrasty.

Color correction includes adjusting the exposure as well as contrast and saturation of the image. This is sometimes a complete change in the entire color gamut of the video, and partial changes only in some of its moments.
Color correction can significantly improve video quality, but no amount of even the best change can fix a bad image.
About 90 % of the quality is created when the camerawork and director's work is done, and the other 10 % is at the color correction stage and proper editing. This is a very important 10 %.
There are two things I would emphasize in the work of the video:
-
● The first is "Color correction".
-
● The second is "Color grading".
For the first step, I would refer to the basic correction setting. This is the RGB adjustment. Adjusting exposure, contrast, shadows, whites, blacks, and also increasing clarity, contrast, and saturation.
Adjusting these parameters, also tint balance.
There are different ways and methods of how to implement this. In this tutorial, we will learn how to do it with a good tool built into Premiere Pro.
This is the "Color Lumetri" tool.
The goal of the first step of color correction, or video clip correction, is to make the video clip as realistic and natural as possible. This step can also include aligning the exposure, i.e. the amount of light.
To summarize, with "Color correction" you can perform actions that will give authenticity and realism to the shot.
After the first step is done, usually we go to the second point, "Color grading" in the process of such color correction the whole picture can be repainted in a completely new color. This correction is more atmospheric. The colors are often unnatural.
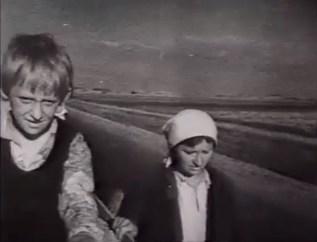
For example, you can get a faded look inherent in the war epic, reminiscent of the real newsreels of World War II.
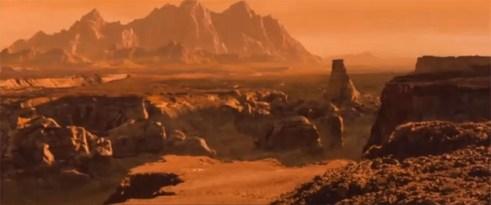
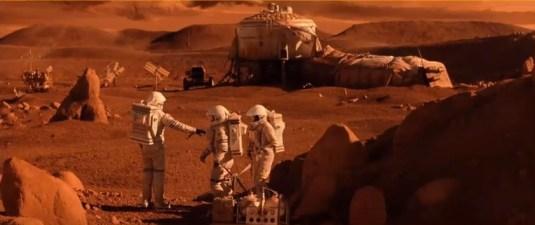
Either a simple black and white look, or it could be a style from a science fiction red planet like Mars, meaning our clip will be all red hues.
The methods for implementing the first and second stages are almost the same, but the goals are different, and in this lesson, we will get acquainted with a useful tool that allows us to do this.
Color Lumetri" window for color correction.
We will do this first in a comparison of the two programs:
-
● Adobe Premiere Pro
-
● Adobe After Effects

Directly, of course, we will use Premiere Pro, but let's see how it is also handled in After Effects. Because if you are interested in video processing, once you understand the first program you will be interested in the second one as well.
And this tool that we're going to look at is very similar to these two programs. And once you understand Premiere, you will understand similarly how to use the Author Effect.
I'm just going to compare so that I can better understand how it works in one program and the other.
So I'm going to run Adobe After Effects
now. You don't have to run it. Well if you have it, you can run it, if you don't have it, you don't have to do it, just take a look. We're going to look at these two programs at the beginning at the same time.
Because this window is almost the same in both of these programs.
Also in this material, we will touch upon a tool like "Lumetric Areas". There are several important useful options here that will help you do color correction. To implement this, we will need materials:
Under this text will be a link to the files I will use in the lesson.
-
● These are two video clips taken in New York City. In one clip we have the police department, and in the second clip, we have a train coming out of the subway.
-
● Also a picture of the flag.
-
● The folder where we have the archive and directly LUT files for Premiere Pro and After Effects. We will install these files in the program to expand the capabilities and also to see how you can connect external additional modules, tools.
Here we have a whole list of preset "loots" and here we will add more of our own. This is a kind of ready-made settings template.
The very concept of "Loot" can be deciphered from the English words "Look Up Table", which can be translated into Russian as a reference table.
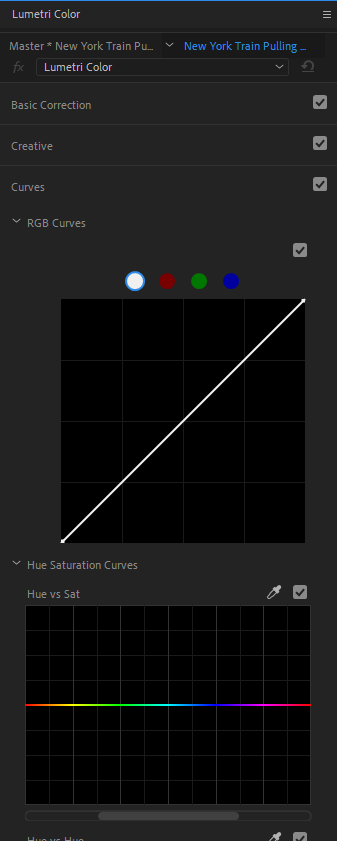
That is, let's open the window together now, in which I am now telling - this "Color Lumetri", it opens as follows. At the top, we have a button "Color", and we click on it. If you click here at the top, then this window opens up on the left immediately. You probably have it minimized. Six main tabs are coming up.
-
● Basic correction
-
● Creative
-
● Curves
-
● Color circles and matching
-
● HSL optional
-
● Vignette
We also need another window, which we will use. Choose the "Lumetri Areas". It probably looks a little different for you. If you right-click on it, then we see that I have an RGB checkbox here, and underneath in the type of display is also RGB. That is, make sure that you have "RGB" in the type of display.
First of all now let's see what we are going to do here more specifically, as I said before you need to download 4 files that we will work with and now place them in our program. In this lesson we will improve our image as a whole, we will also learn how to change colors selectively in some areas.
Adobe Premiere Pro + After Effects project creation.
Now let's go directly to "prime pro" and create a new project.
File > Create > Project.
I will call this document "17 New York".
Space is a color description scheme based on the use of color coordinates. In other words, it is a method of coding information in some areas, and in this case, we are studying video editing here and we see that we are given three color spaces here.
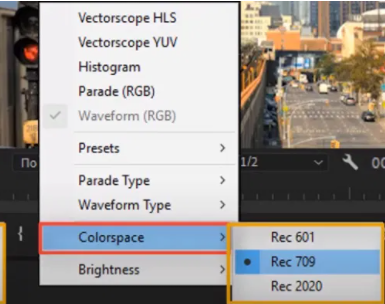

-
● Rec 601, Rec 709, Rec 2020
All three spaces were developed by one organization, the International Telecommunication Union. International Telecommunication Union. (Related to the U.N.)
Color correction in Adobe Premiere Pro.
HSB is a three-channel color model. It is named after the first letters of the English words: color tone, saturation, brightness.
The basic correction is done.
The next tab is Creative. Here if you open this tab you can load some "loot", we will load additional modules. We will do it in the next lesson. There are interesting LUTs.
For example, we can create an atmosphere like on Mars as in this movie.
But we will do it in the next article so that this activity is not delayed we break it into several parts.