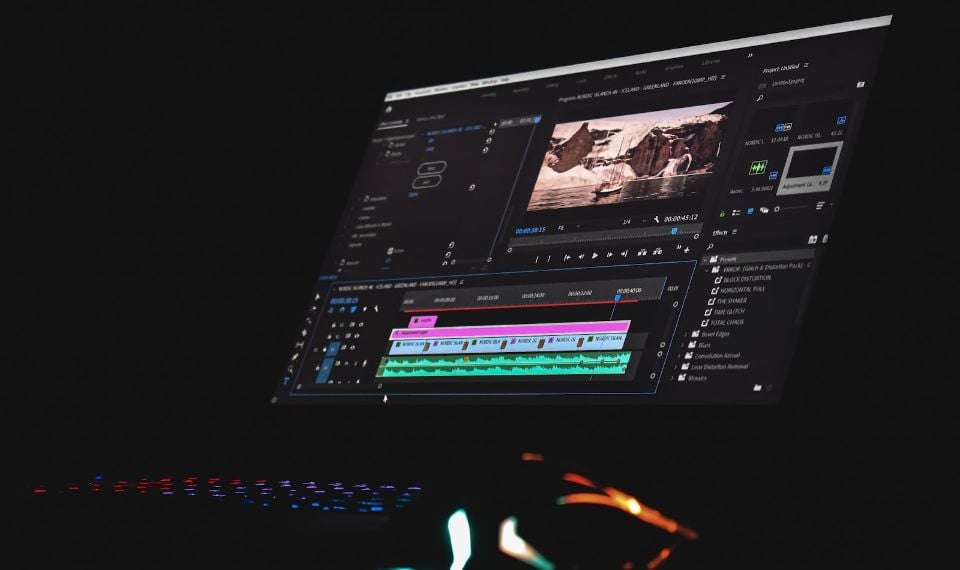
Adobe Premiere Pro is a professional video editor that can liven up any kind of footage. It is rather well-known. However, to use it both correctly and efficiently, you should know about particular features. For instance, here, in this article, we are going to talk about video exporting within Adobe Premiere Pro.
You can also check our Youtube video.
When the fabulous edit in Adobe Premiere Pro is done, it’s time to export your video (before sharing it with your loved ones or posting it on diverse networking sites). Probably you may think that it is quite challenging, nevertheless, it's not so if you have detailed instruction.
We are here to help you in figuring out how it works.
-
Open the “export” window
There are several methods to deal with it, though you should adhere to a certain sequence.
-
● If you have a PC, press Ctrl+M
-
● In case of utilizing Mac devices, press Cmd+M
-
Configure the export format
You will see a preview of the chosen video on the left and various export options on the right. There is a set of combinations that can be engaged in the working process, however, you should be confident where exactly you’ll host the video content.
Note: the export settings differ. Thus, whichever social network you select, you won’t have the same options for all of them.

The major part of users exploits H.264, which is:
-
● secure
-
● wide spread
-
● universal
In the event that you’ve already decided where to post the video, there’s an opportunity to start with some Adobe presets.
-
Reflect upon the name of the video and define where it will be stored
At this stage, you need to decide where you will place your video, likewise, consider the future location of the exported content on your device. After you’ve coped with all the mentioned above, Adobe will install the file on the computer. You will also be able to select whether to export a video / an audio or both of them simultaneously.

-
Customize your “fundamental video settings”
It is essential to maintain all of the settings, corresponding to the source settings. In case you desire to alter some stuff, such as the width / the height, ensure that it is accomplished via sequence settings before exporting the content. What’s more, do not forget to click “Render at Maximum Depth” (which will provide you with the best quality).

-
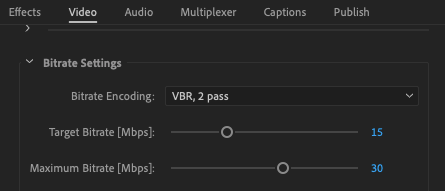
Tweak the “video bitrate settings”
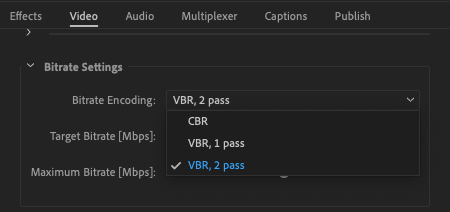
It would be better to use the Bitrate Encoding setting “VBR, 2 pass.” Certainly, working with “VBR, 1 pass” is faster and exporting through “VBR, 2 pass” will take more time, nevertheless the export will be completed with much robustness. Furthermore, you will be able to set a Target Bitrate, as well as, a Maximum Bitrate in order to be confident that every single part of your video is awesome and has a top quality.
There are occasions when you may not have enough time or your export is not the last task in your list. Being a hostage of particular circumstances you can utilize “VBR, 1 pass” to export your content more rapidly.
Depending upon where you’d like your video to be hosted the optimal settings (for the ultimate export) will vary. The higher a Target Bitrate or a Maximum Bitrate, the bigger the size of your file. Having a large video, the great part of platforms will shorten the file when uploading it.
Generally, the videos intended for such social media sites like YouTube are able to exploit a Target Bitrate of 15+ without any issues. On the contrary, uploading video to the platforms similar to TikTok, Instagram Stories jointly with Instagram Reels, be ready that your video will be compressed. You may reduce the video compressing by choosing the lower Target / Maximum Bitrate.
-
Do not overlook audio exporting settings
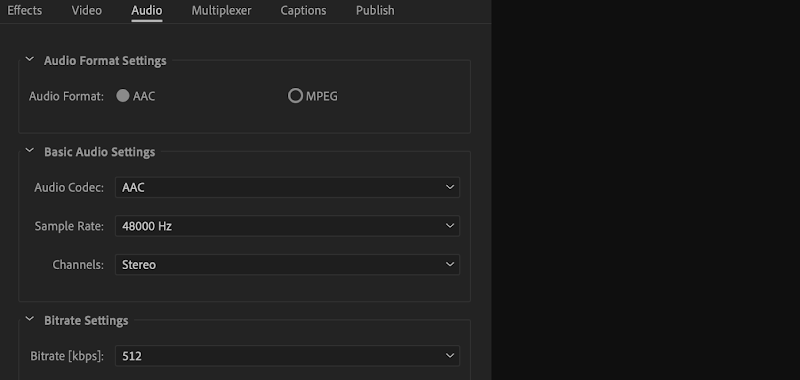
As a rule, almost 50% of your video is audio, therefore check all the settings before completing the export process. When complimenting the video with tunes taken from Epidemic Sound, there is a possibility to utilize the utmost sample rate of 48,000 Hz, to gain the best exporting quality of the audio.
There is also a function called “Advanced Audio Coding” (AAC) that is widely used in any type of video content. Moreover, it is more preferable to MP3.
To elevate the level of the audio quality, set the bitrate to 512 kbps. Everything depends on the bitrate. The higher the bitrate - the better the export quality.
-
Export the video content

The last step is to tick “Use Maximum Render Quality”. This option provides you with the final size of the video. After complying with all the given guidelines, press “Export” and our congratulations, the work is done! So since this time, you are a master in video exporting through Adobe Premiere Pro.