
How to Add a 💧Watermark to a Video in Adobe After Effects
In this tutorial, you'll learn how to add a logo as a watermark in the video using Adobe After Effects. If you are making videos for clients, then it becomes necessary to add your logo as a watermark to avoid the risk of being cheated. Also, you can secure your videos so that nobody could copy it.
So it's crucial to learn to add your logo as a watermark for the purpose of security as well as your identity. Look what we're going to create.
Just follow the steps below to make the same.
Move watermark in and out
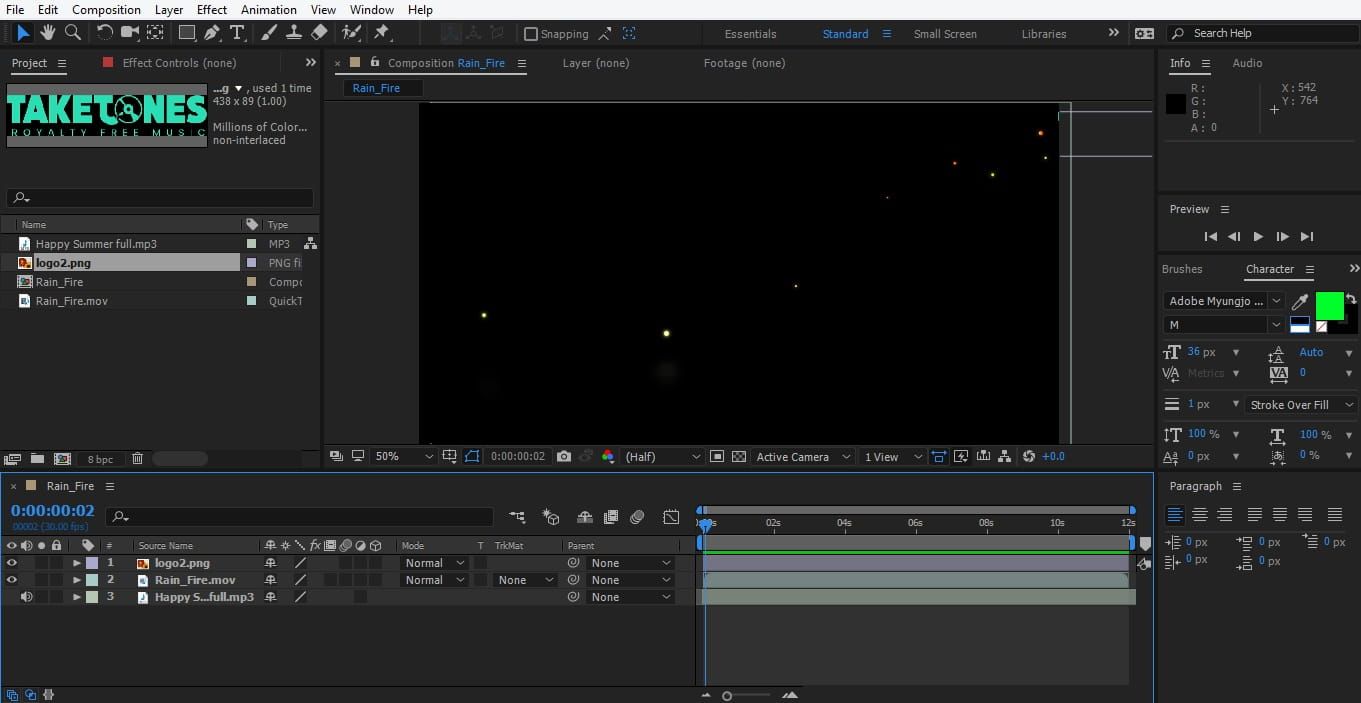
• First import the Video on which you need to add a watermark, and your logo which you want to use as a watermark.
• Create a new composition 1920*1080, add the video to the main composition.
• Add the logo to the main composition below the video layer.
Now we need to move our watermark, so when the video starts your logo will come and go in a certain movement from left to right or right to left or whatever direction of movement you want.
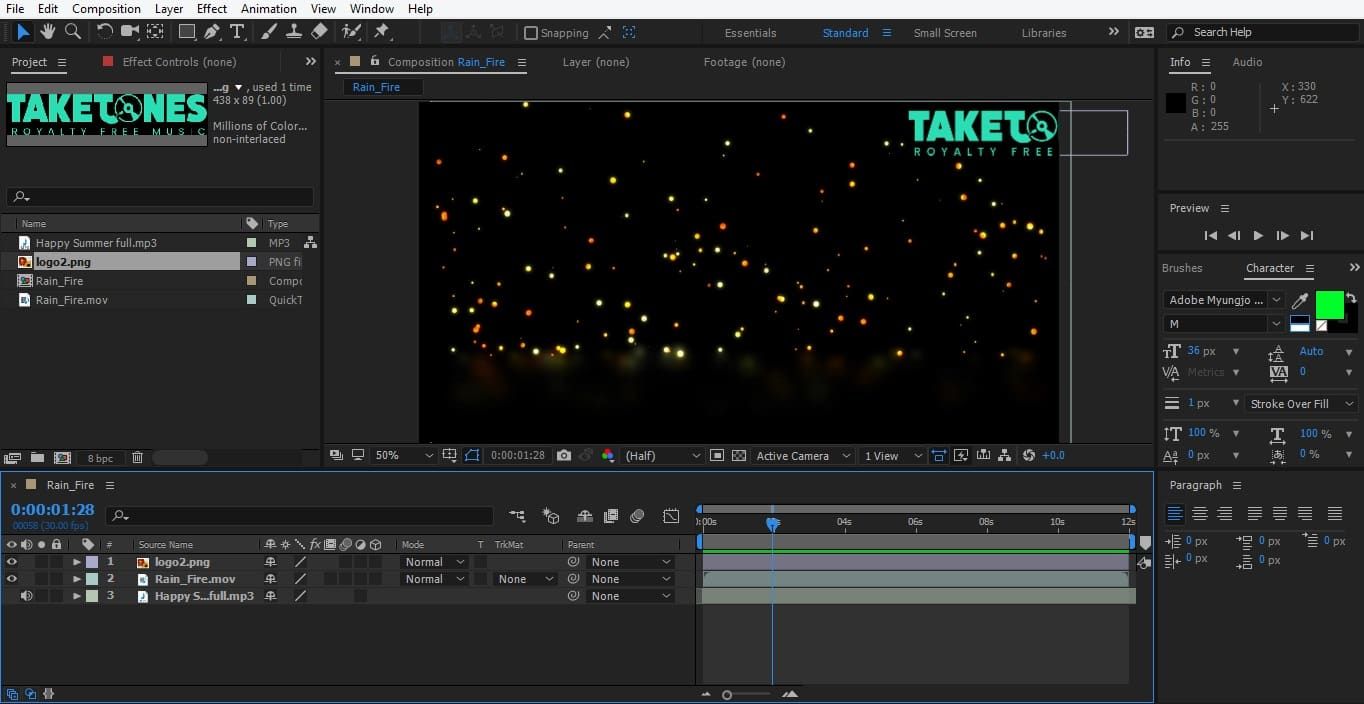
• For this, we have to select the logo layer and press 'P' to open position properly.
• Press watch icon and make a keyframe at 00sec. and set height 1508.
• Now go to 3sec frame and set height 1038.
Let’s see what’s happening. See how our watermark is moving. The logo is coming on screen at the start, and at 3sec frame is going out from the screen. That’s looking pretty cool.
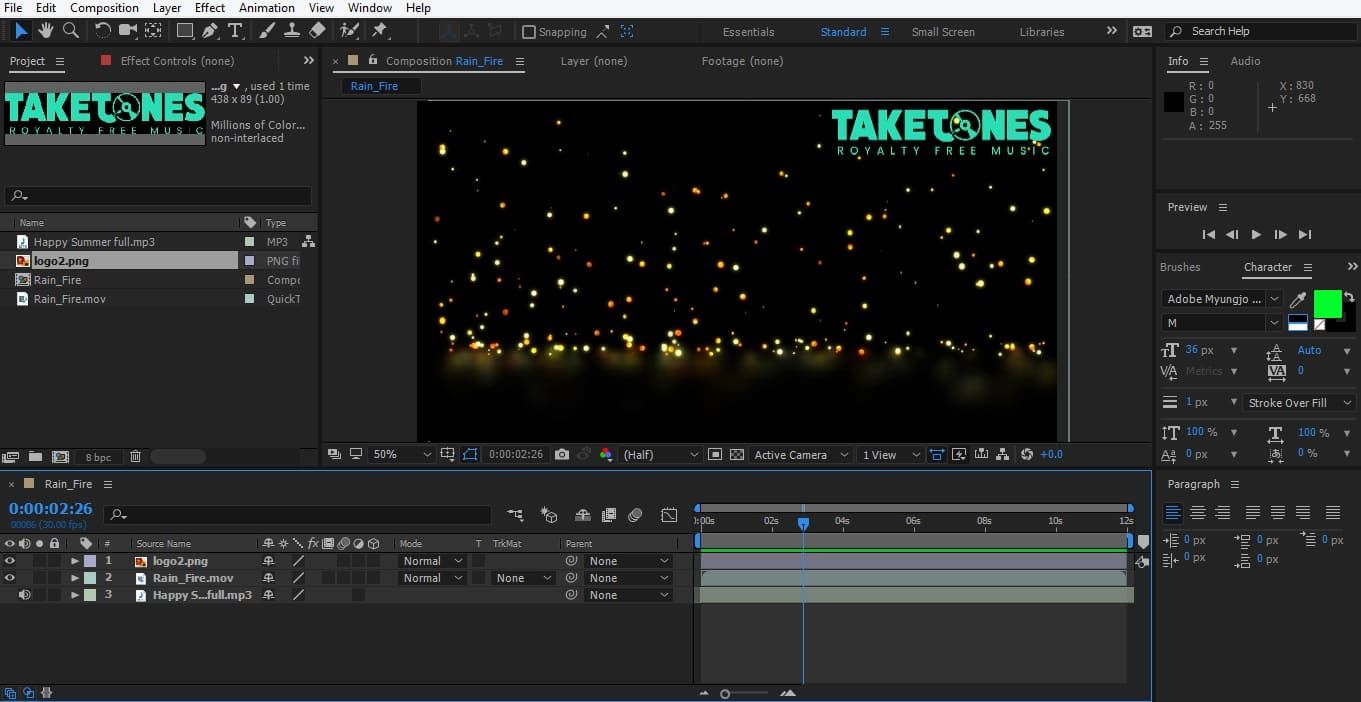
Now we need to move our logo repeatedly on the video screen.
• For this, we go to 6sec frame and set height 1508 and then go to 9sec frame and set height 1038.
Okay, let’s play. This is really looking pretty cool. Our watermark is coming, going and coming back as we want it. But now our logo is moving a bit slowly. We need it to move a little faster.
• For this, create next keyframe near to the previous keyframe.
• Now we go to 10sec frame and set height 1508, and then go to 11sec frame and set height 1038.
Now we can see how it's going. Great! Our logo is moving fast in and out on the video screen.
Play with opacity
Our watermark is looking too much highlighted. Let's make it less bright.
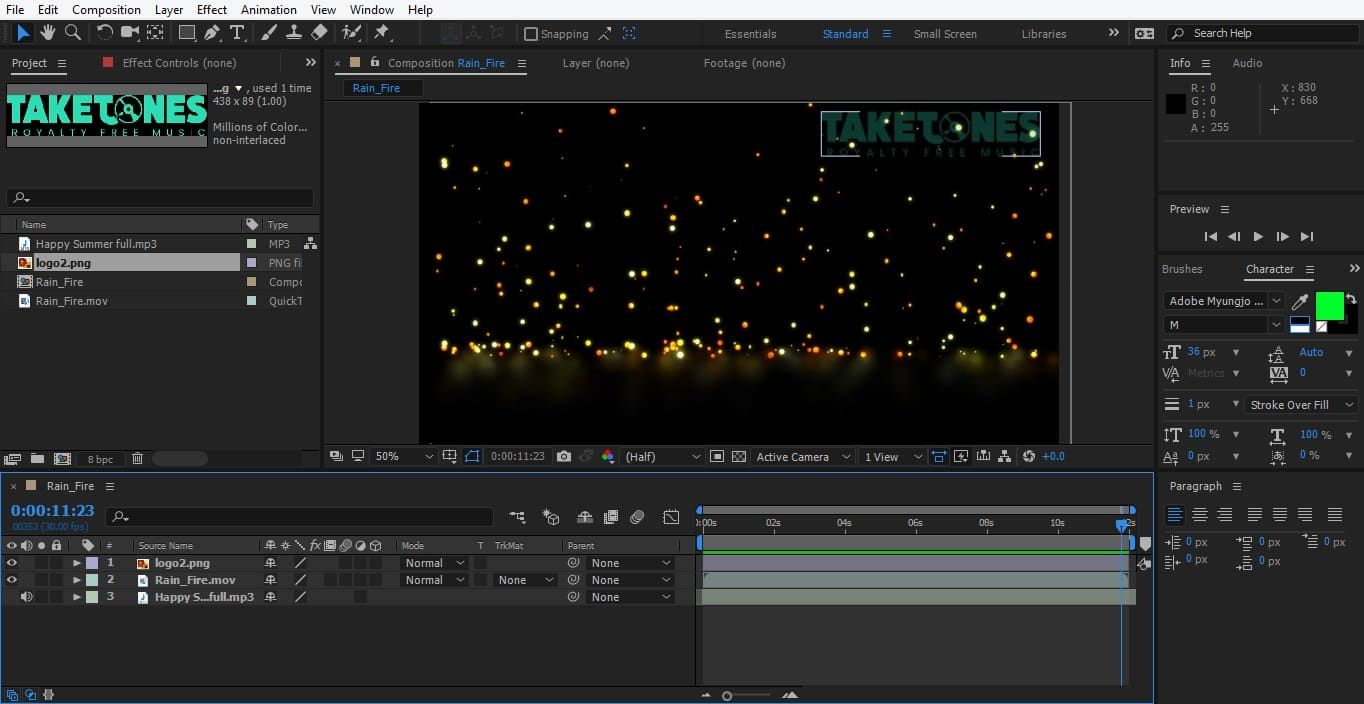
• We select the logo layer and press 'O' to open opacity property.
• Press watch icon to make a keyframe at 9sec frame and opacity 100%, then go to 11sec frame and set opacity to 25%.
Now play your video. Here our watermark is not looking too highlighted; it looks like an actual watermark.
You can also play with other effects for the watermark. If you want your logo to be shown in the center, then you can simply set the positioning of your watermark.
Also, you can put your watermark anywhere on the screen or give direction as horizontal to vertical. It totally depends on your choice. Or you can try a standard watermark setting as shown in this tutorial; the rest is your choice. Be creative!