You have already encountered the Opacity property of the layer and you can make it so that, for example, one image will be visible through the other one. That is, by placing two images underneath each other and reducing the opacity of the top image, you can see the bottom image.
This is the simplest example of compositing. Linking (or compositing) is the composition of an image by mixing or distributing parts of different images on separate layers. Examples of compositing are different blending modes, keying, or masks.
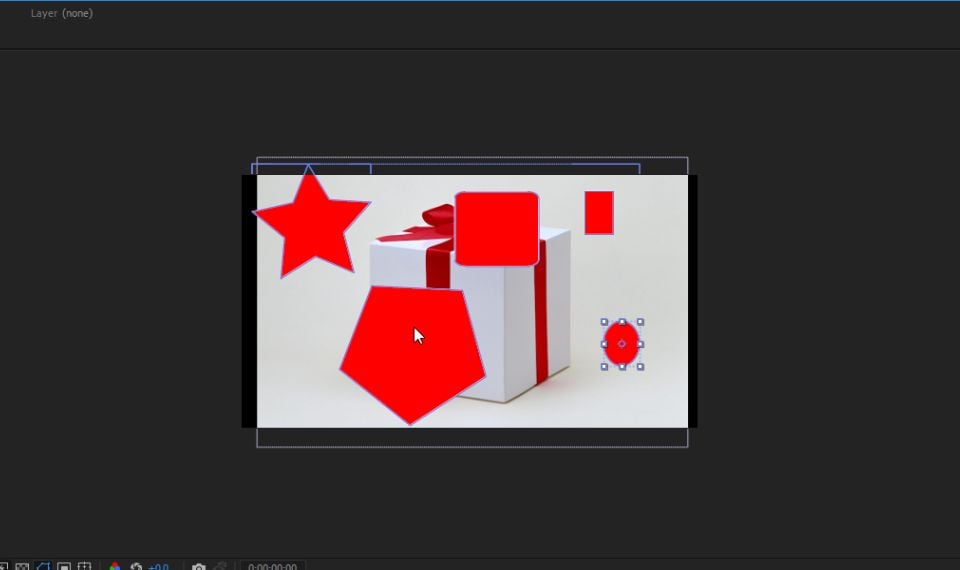
So, we have an image or a video frame. To create a mask based on it, we need to define the outline. There are several ways to create an outline. The simplest way is to use the shape tool. In After Effects 9, you can choose from five shapes.

Initially, a rectangle is selected. You can switch between them by pressing the key on your keyboard. When you select one of the shapes, make sure that the layer from which you want to make a mask is selected. Otherwise, a new layer with the figure will be created (we will talk about this in one of the next articles on drawing). A double click on the shape icon (on the toolbar) creates a mask of the maximum size that fits in the composition window.
Let's create a mask in the form of a circle. To do this, let's switch the shape tool to the Ellipse tool. Then go to the Composition panel. Just try to draw the figure anywhere in the image and see what will happen. Hold down the left mouse button and drag the cursor up or down diagonally and release the mouse button. What has happened?
The image outside the contour of the mask became transparent. And everything inside the mask remains the same. The Toggle Transparency Grid switch on the Composition panel must be activated for the transparent areas to appear as a checkerboard.

Let's go to the Timeline panel. Here, too, changes have occurred. The selected layer has a new group of properties - Masks. It displays all the masks of the layer, in our case Mask 1. For each mask, you can select the masking mode and make it inverted (transparent areas will become visible, and opaque ones will become invisible) and these properties cannot be animated.

But if you click on the mask swivel, you will see four properties that we can animate.

Mask Path - mask shape; Mask Feather - border blur; Opacity - mask opacity; Expansion - border expansion. While the last three parameters can be learned by "gut feeling", as for the first one, it is worth noting that the mask shape can be changed either by dragging the mask shape manipulators or by pressing the Shape button and setting the shape parameters manually in the window that appears.

The mask properties are animated in the same way as the transformation properties do. Press the stopwatch icon of the desired property - the first keyframe is created at the location of the editing line. By changing its position, we change the value of the animated property - the second key is created. The changes between the keys are interpolated by means of the program. Nothing complicated!
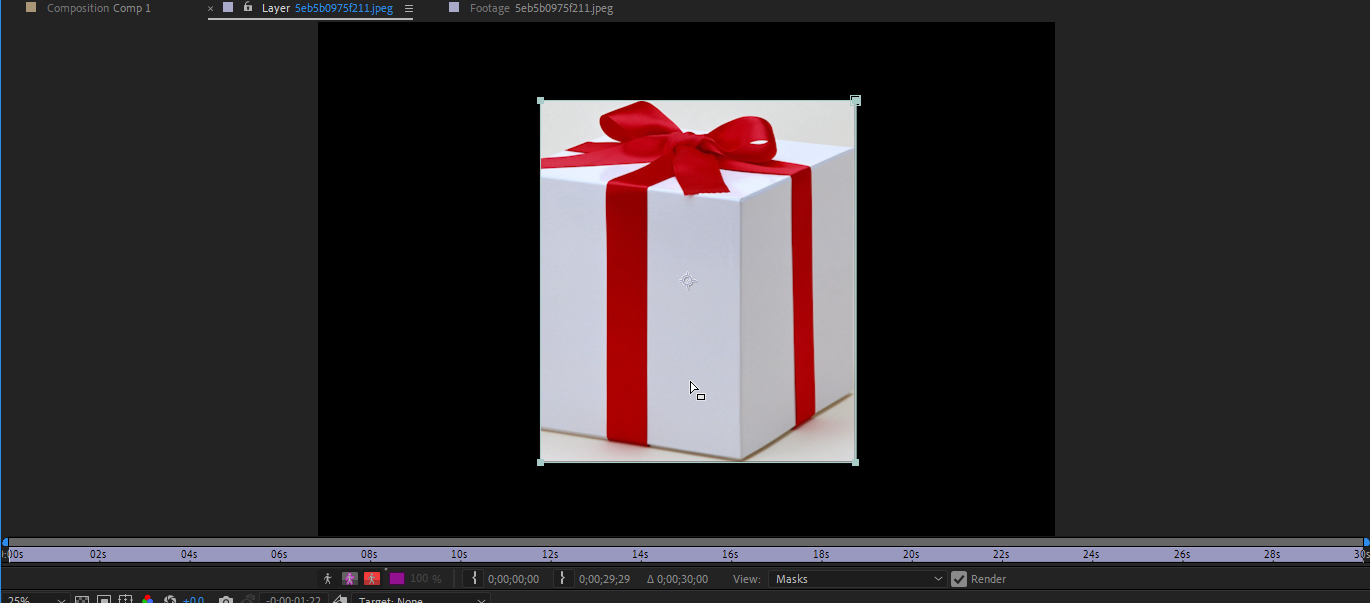
You can also draw the mask with the Pen tool (pen). For removal of the background, this is ideal. In complex compositions, it is not always convenient to draw masks in the Composition panel. The layers can overlap each other or even be outside the composition window, and also the applied effects and transformations can interfere. Therefore, it makes sense to use the Layer panel.
Here you can see the entire layer in its original state, without applying any effects or transformations. Double-click the desired layer in the Timeline panel and it will be opened in the new Layer panel.

Choosing the Pen Tool

and start drawing the mask outline. The contour consists of Bézier manipulators connected by lines. To install a manipulator, just click in the desired place with the mouse. To close the contour, click on the first manipulator.

When we close the contour, the familiar situation will happen: everything outside the contour will become transparent, and the Timeline will have a new group of properties - Masks. More complex contours we will also discuss in an article about drawing. And for this image, we have enough of this knowledge. Now let's place the background image under the layer with the mask.
To make our composition look more believable, zoom out on the mask layer.

Done! Now our box blends perfectly with the background image!
Apply what you've learned to your compositions. Experiment. We wish you creative success!